Driver Installation and USB Configuration
At this point your board is ready!
Now we need to install the necessary drivers so that the Franzininho DIY's USB can receive code through the Arduino IDE.
Below are the steps for correct configuration according to your operating system.
Windows
Download the driver at: https://github.com/digistump/DigistumpArduino/releases/download/1.6.7/Digistump.Drivers.zip
Extract it.
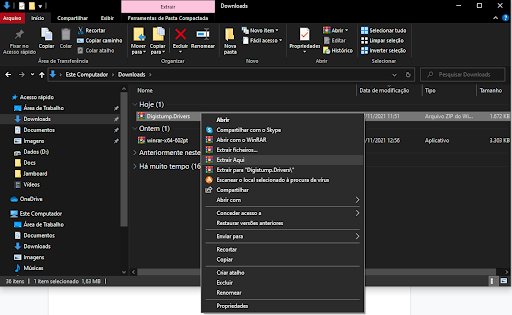
Open the folder!
Inside it there will be several files. Go to the options below:
For Windows 32-bit, run DPinst.exe. For Windows 64-bit, run DPinst64.exe.

Double-click the one that applies. A window will appear — press Yes, then another window will appear — click Next.
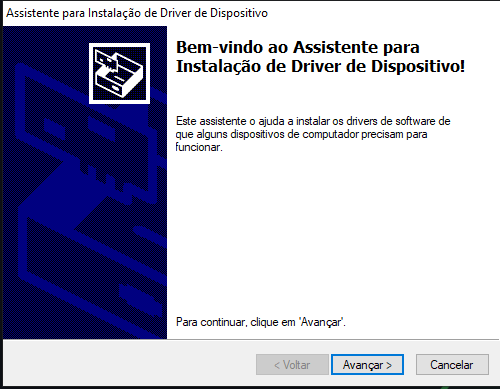
Wait for the installation to complete and click Finish!
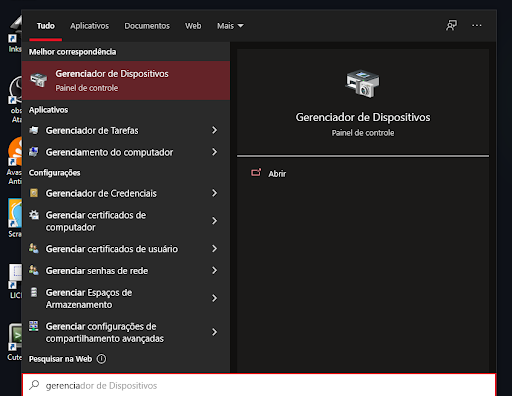
Now let's verify if the driver was actually installed.
Plug your Franzininho into your computer's USB and open Device Manager.
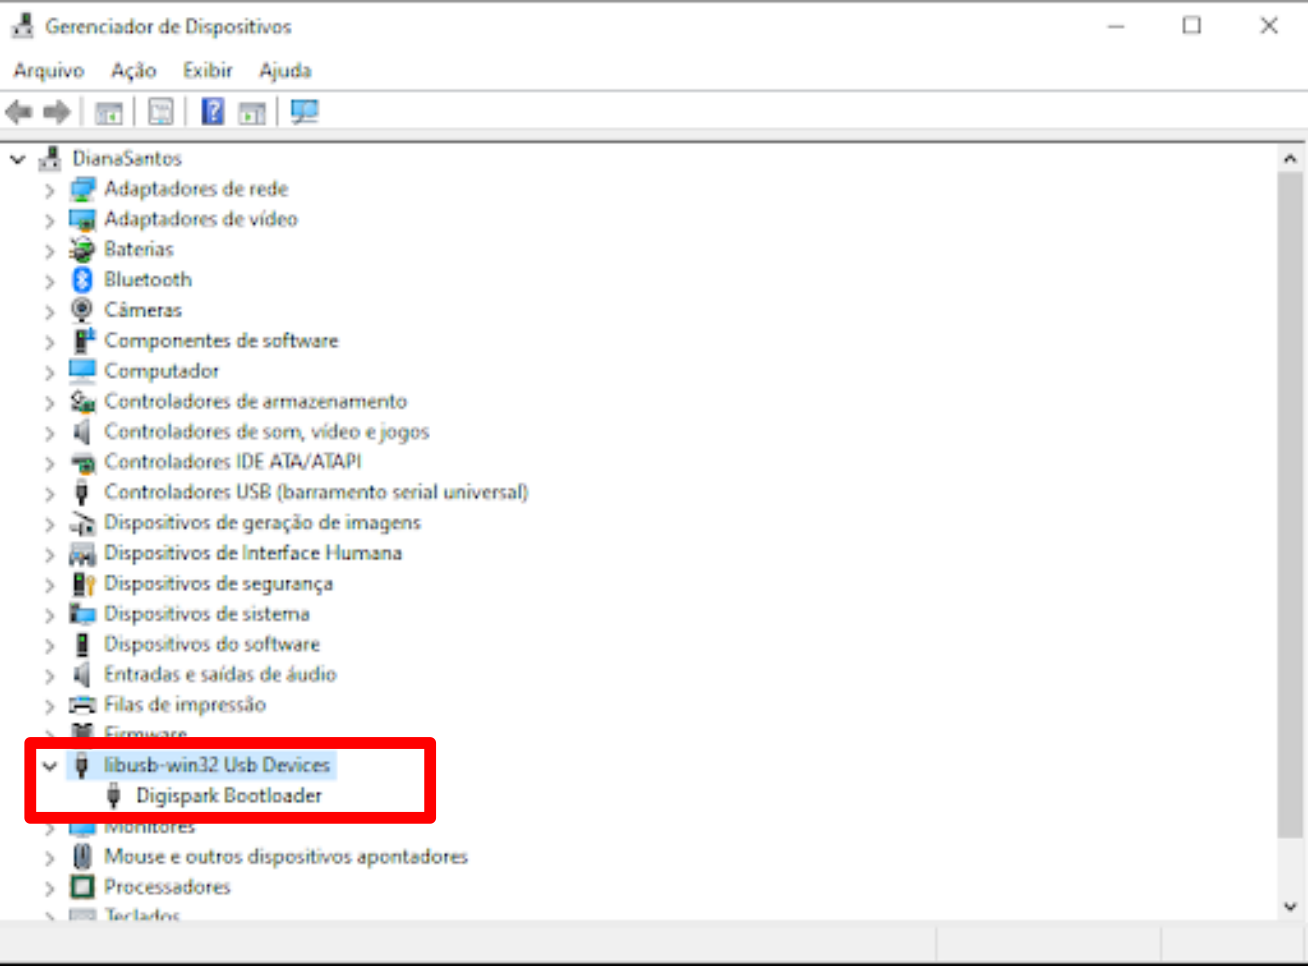
If libusb or digispark appears, the driver was installed successfully!
Source: http://digistump.com/wiki/digispark/tutorials/connecting
Linux
Follow this procedure:
Linux Troubleshooting: http://digistump.com/wiki/digispark/tutorials/linuxtroubleshooting