Bootloader
For the Franzininho board to be programmed via USB, it is necessary to flash the bootloader. The bootloader is a small program that runs every time the board is started and checks for a firmware update command. If this command is present, it receives the binary via USB (in the case of the Franzininho DIY) and writes it to flash memory.
In the Franzininho DIY we use Micronucleus, a small and very flexible bootloader developed for the ATtiny family using the VUSB project as its base.
Below we will show how to flash the ATtiny85 to use Micronucleus.
Required Materials
- Arduino UNO or similar
- Wires (Jumpers)
- Breadboard
Circuit
You will need to assemble the following circuit:
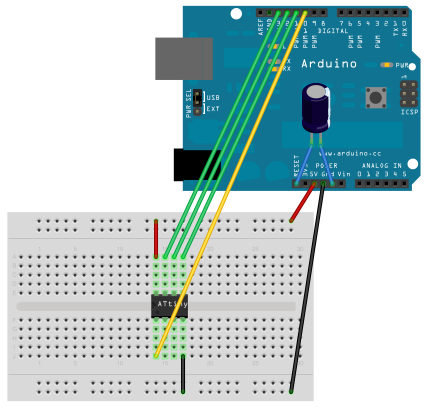
With the circuit assembled, let's proceed to flash the bootloader.
Flashing FranzBoot on the Arduino UNO
To simplify flashing the bootloader, we will use FranzBoot, a program for flashing the Micronucleus bootloader for the Franzininho DIY using an Arduino UNO.
Download the project to your computer: Download.
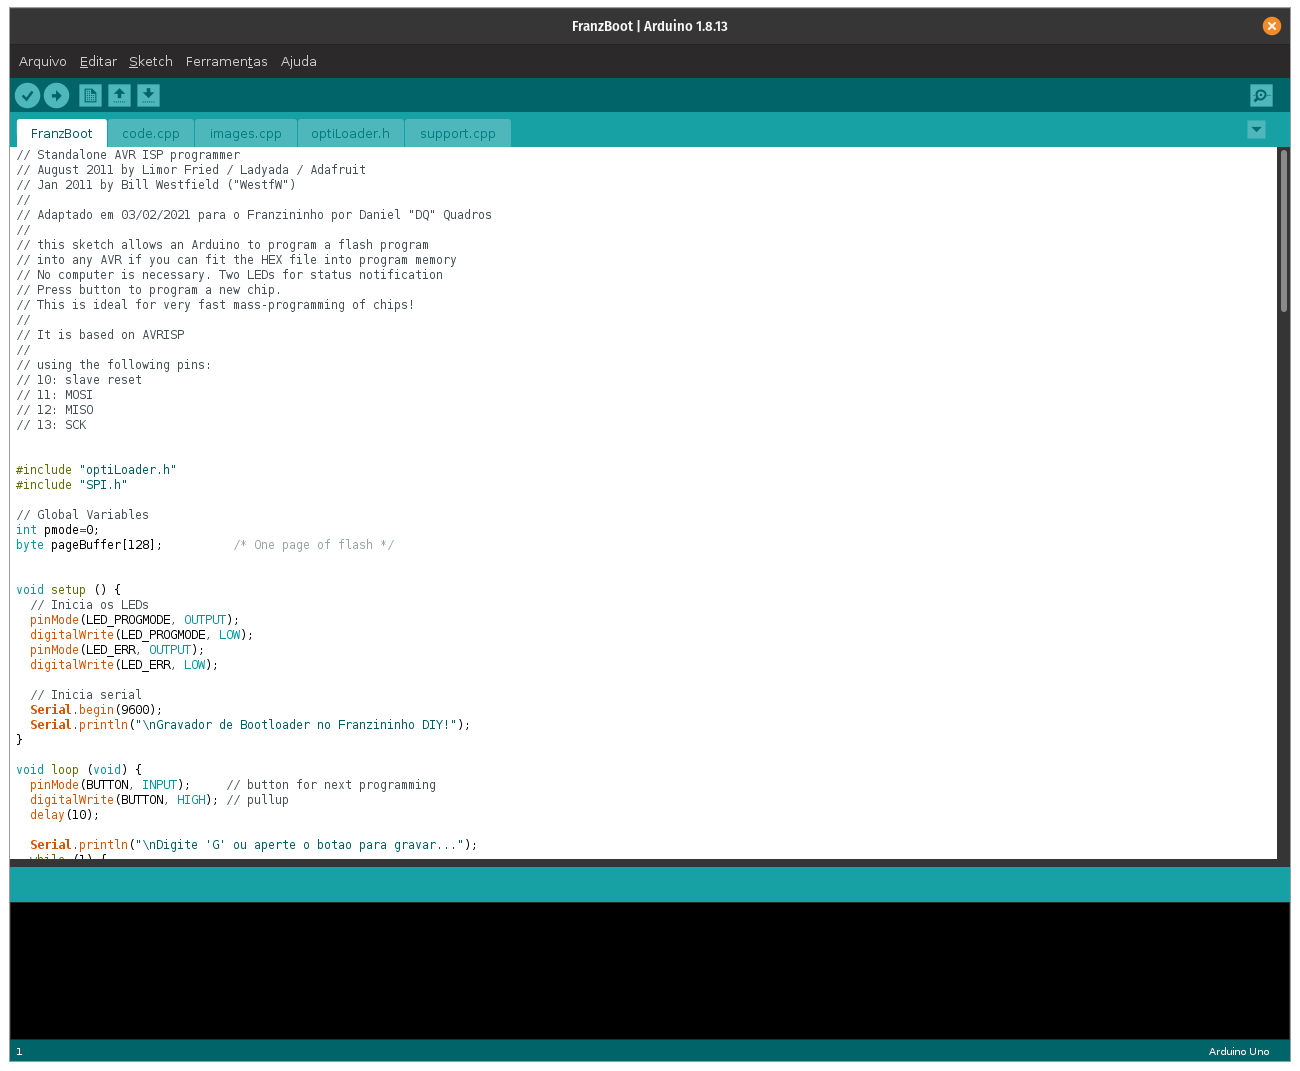
Extract the folder and open the FranzBoot.ino file.
The Arduino IDE will open:
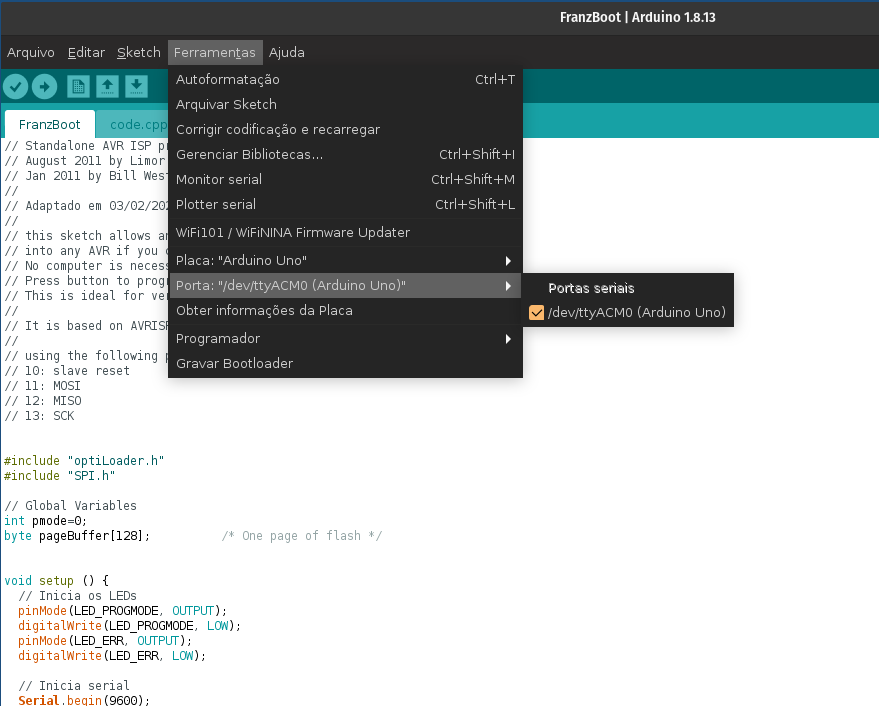
Before flashing the board, configure the IDE for the Arduino UNO. Under Board select Arduino UNO, and under Port select the serial port created for your Arduino UNO:
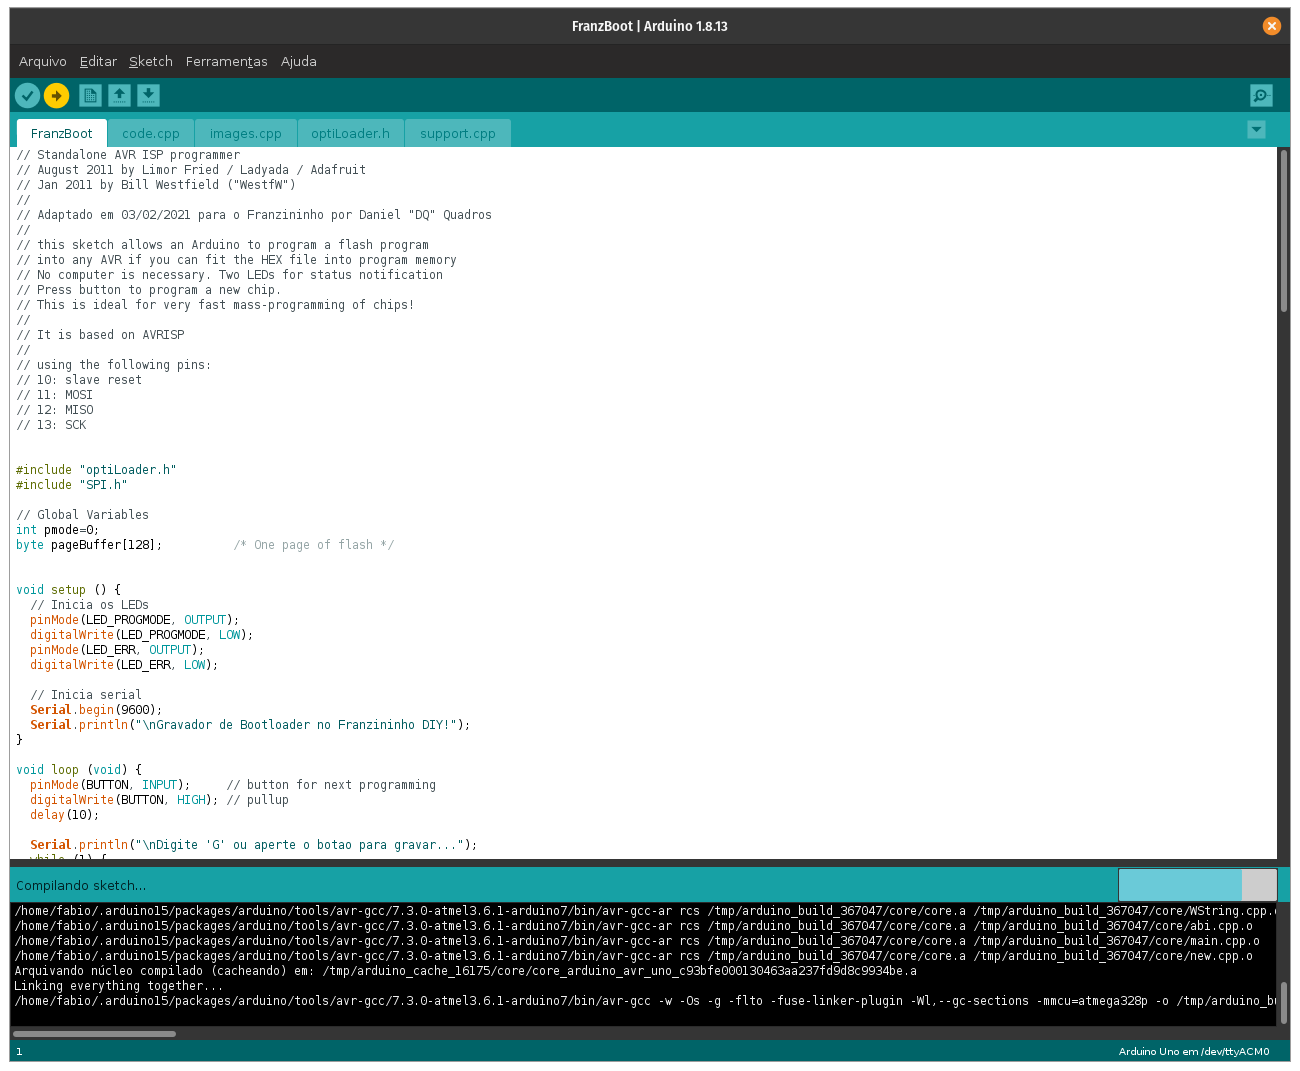
Done — now press Upload and wait for it to finish uploading to the Arduino UNO:
Now open the serial terminal:
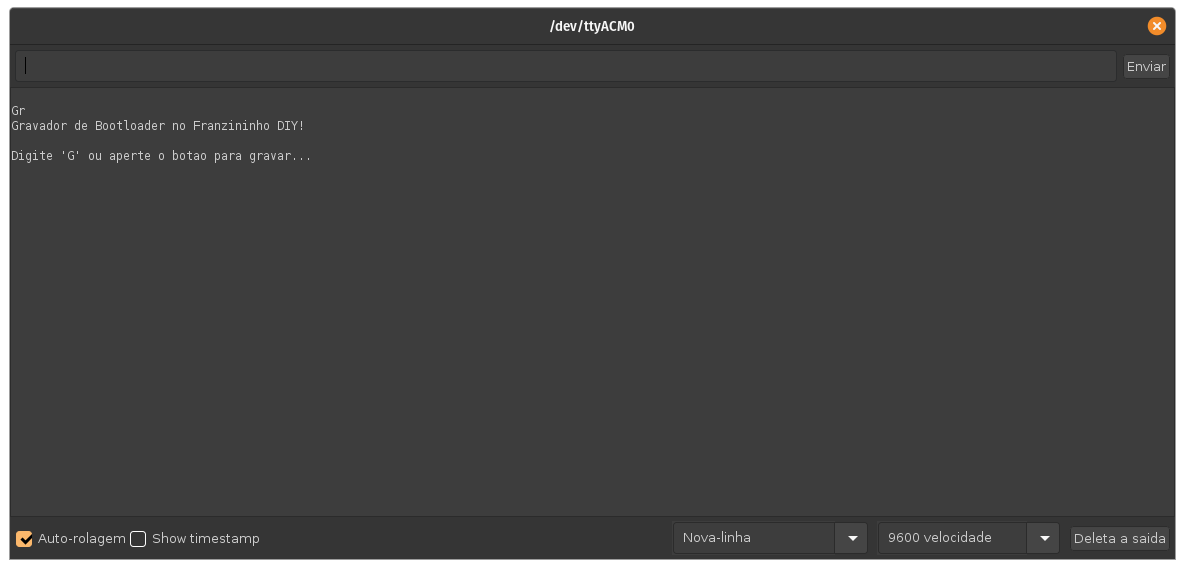
Now type G and press send. After flashing, the following message should appear in the terminal:
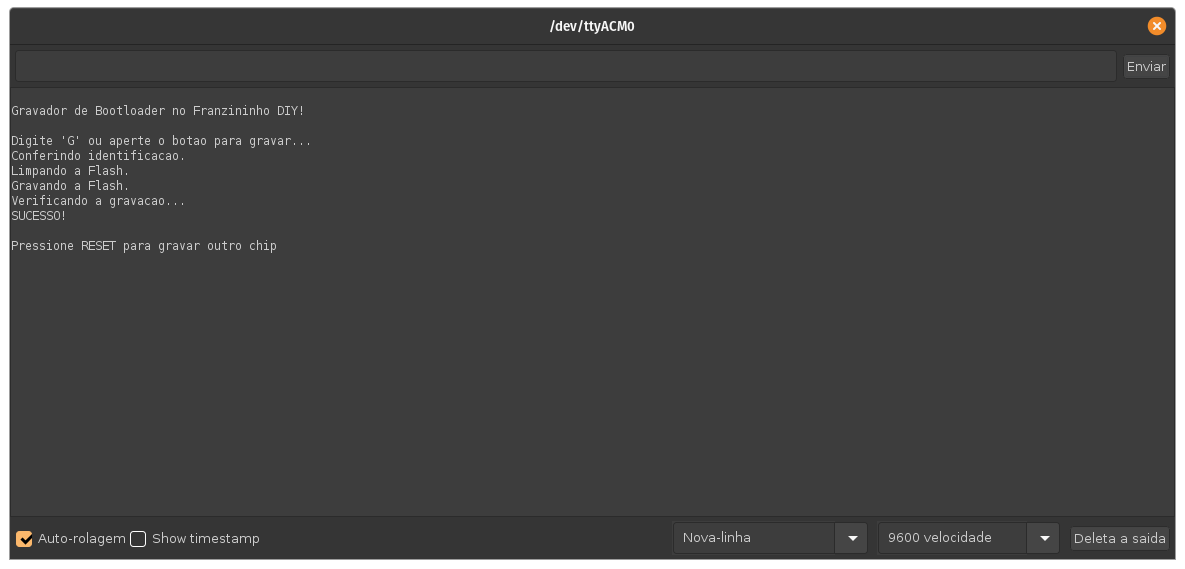
If you receive an error message, check the electrical connections and send the G command again.
Done — the ATtiny85 is ready to be inserted into your Franzininho DIY. Carefully remove it from the breadboard and insert it correctly into the Franzininho DIY, as shown in the image below.

Next Steps
Now that your Franzininho DIY board is ready, you can start programming.
Flashing Many Chips
If you need to flash many chips, you can do so without using a PC. Check the FranzBoot documentation for more details.