Getting Started
The Franzininho WiFi was recently added to the Arduino platform through the Espressif ESP32 package. This was a contribution by Pedro Minatel to the Franzininho project. Pedro submitted a PR adding the Franzininho WiFi in CDC mode and also as MSC.
In this tutorial, we will learn how to configure the Arduino IDE and upload code to the Franzininho WiFi board.
We used the Espressif documentation for Arduino as a reference for this tutorial: https://docs.espressif.com/projects/arduino-esp32/en/latest/
Video with the configuration
Arduino IDE
Arduino is an electronics prototyping platform consisting of boards and a programming interface called Arduino.
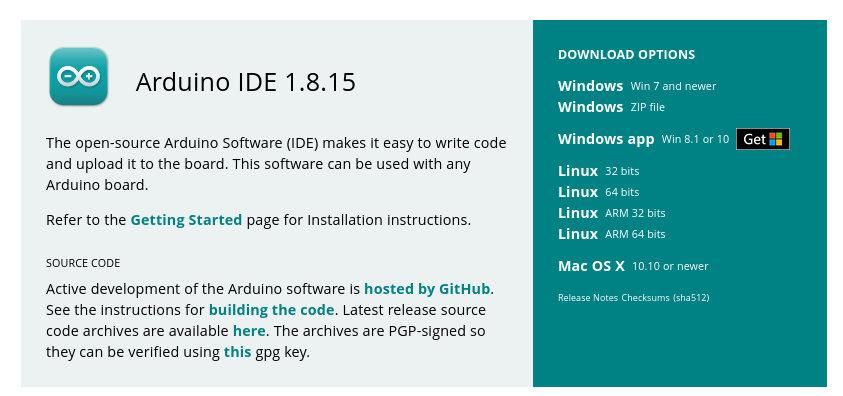
Before starting the configuration, it is important that you install the Arduino IDE on your operating system. Go to: https://www.arduino.cc/en/software and download the version for your operating system.
We are using Arduino IDE 1.8.15 for this tutorial; we recommend this version or higher.
Installing the ESP32 package for Arduino
To install the ESP32 package for Arduino, we will use the Board Manager tool in the IDE itself.
Follow these steps:
- Open the Arduino IDE and go to File -> Preferences;
- Paste the following URL in "Additional Board Manager URLs":
https://raw.githubusercontent.com/espressif/arduino-esp32/gh-pages/package_esp32_index.json - Click OK;
- Go to Tools > Board > Board Manager;
- When it opens, search for ESP32-S2 and click Install.
See the step-by-step in the image below:
Done. Now just go to Board and search for the Franzininho WiFi:

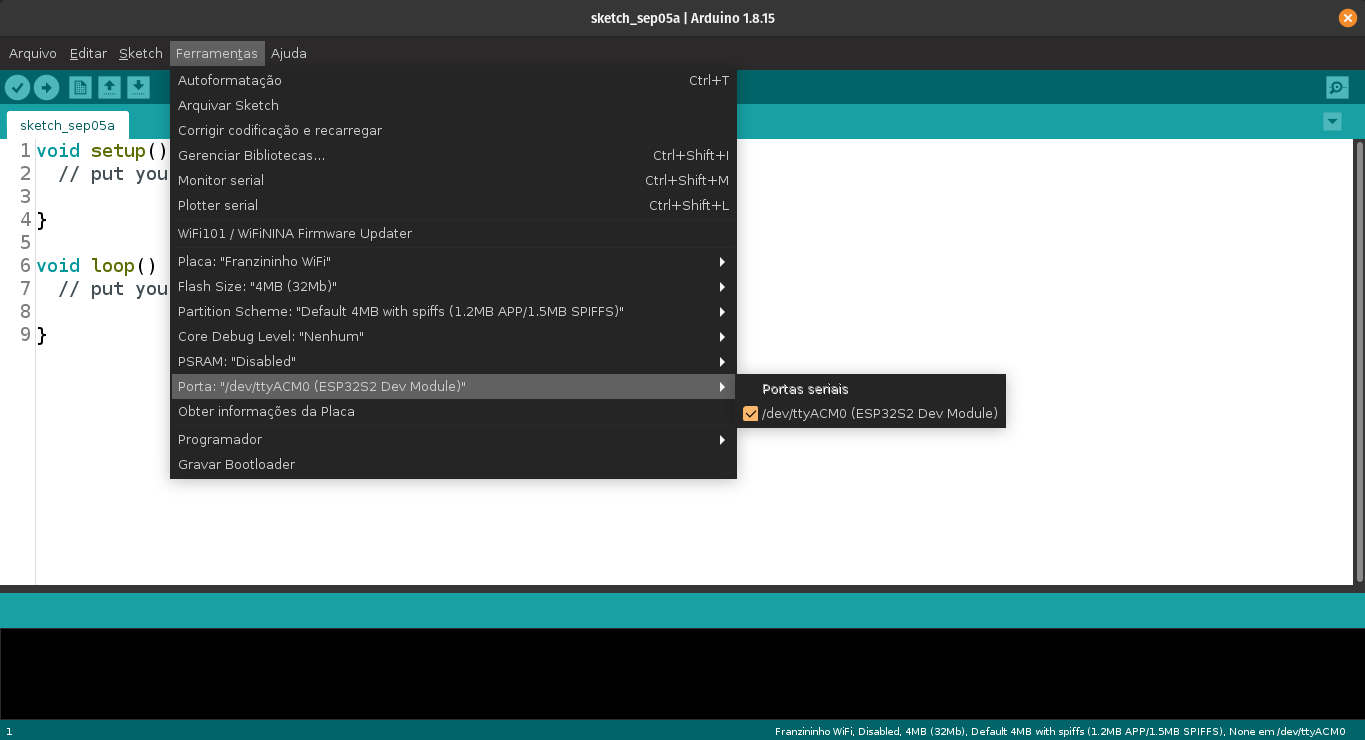
Apply the following configuration:
Now we will run an example to verify the upload process.
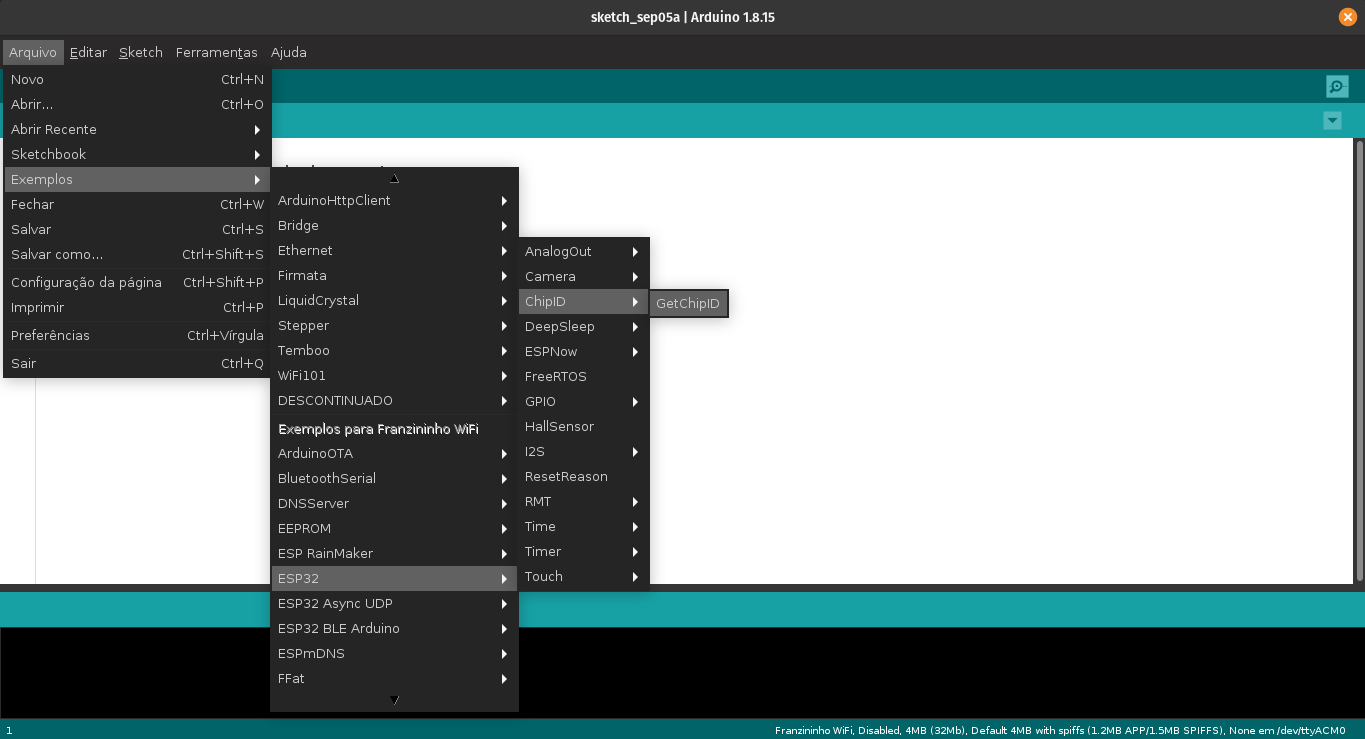
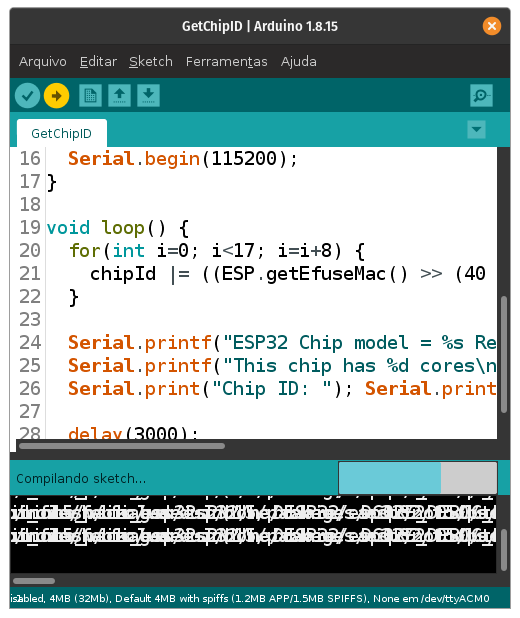
Open the GetChipID example:
Now we will upload to the board. If this is the first time you will use the Arduino IDE to program the Franzininho WiFi, you need to put the board in DFU mode to load the code. After that, you will not need to do this procedure again.
This should always be done if you program the board with other platforms such as ESP-IDF, CircuitPython, etc. After this procedure, just program the board by pressing upload, as we are used to doing with other boards.
Putting the board in DFU mode:
-
Plug the board into the USB;
-
Press and hold the Boot button;
-
Press the Reset button and release it;
-
Release the Boot button.
To load the code onto the board, click Upload:
Open the serial monitor and configure the speed to 115200 bps:
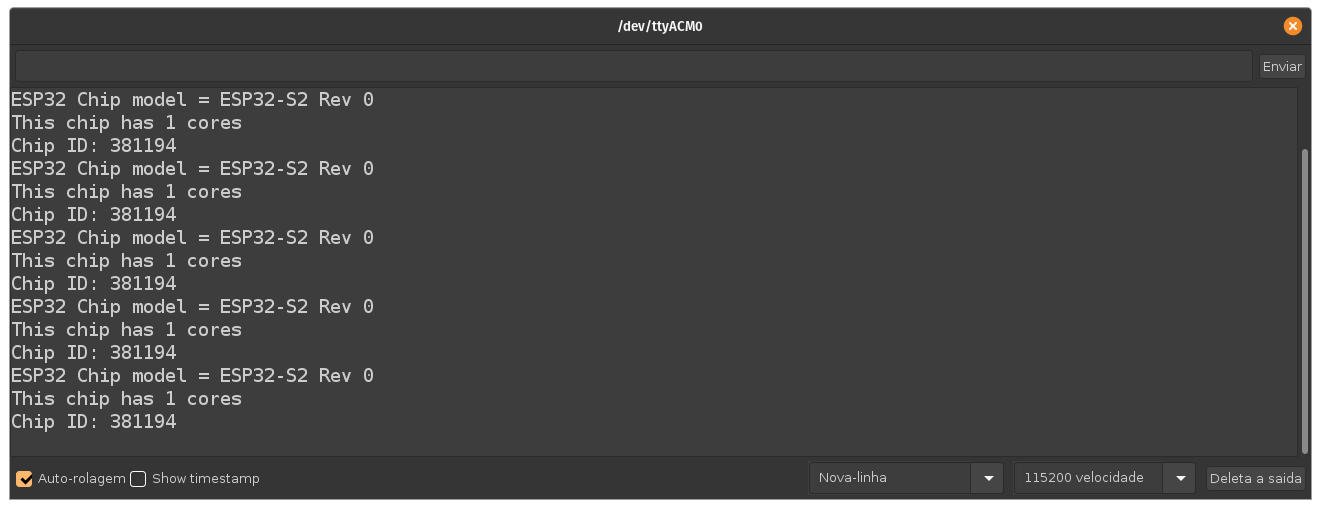
The model and chip ID will be displayed.
Now you can load any code to the board without needing to put it in DFU mode.
The Franzininho WiFi MSC works the same way for upload via the Arduino IDE. The difference is that in this mode we can load binaries without using the IDE, simply by copying the binary to the storage device created on the computer.