OLED Display
Introduction
A valuable ally of development boards are displays: they allow you to visualize data and provide immediate feedback (without the need for computer monitors), as well as enabling the creation of custom user interfaces.
The Franzininho WiFi Lab01 features an SSD1306 OLED display, and in this article we will understand how to make the most of this screen.
SSD1306 OLED Display
The SSD1306 OLED display is a type of OLED (Organic Light-Emitting Diode) technology display that uses the SSD1306 controller. These displays are known for their high image quality and energy efficiency, making them popular in DIY electronic projects, wearable devices, IoT projects, and many other applications.
Unlike conventional LCD displays, OLED displays do not require a backlight, since each pixel in an OLED display emits its own light. This results in higher contrast levels, more vibrant colors, and a wide viewing angle.
SSD1306 display specifications:
- Resolution: 128×64, 128×32, or 96×16 pixels
- Communication: I2C or SPI
- Power supply: 3.3V or 5V
- Supports multiple programming languages
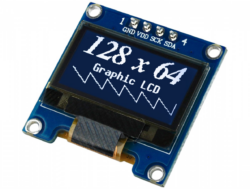
Figure 1 – SSD1306 OLED Display
Required Resources
To start working with GPIOs, it is essential to have the board pinout available, as this will allow you to identify both the names and functions associated with each pin.
| Pin | Resource |
|---|---|
| IO1 | LDR |
| IO2 | BT6 |
| IO3 | BT5 |
| IO4 | BT4 |
| IO5 | BT3 |
| IO6 | BT2 |
| IO7 | BT1 |
| IO8 | OLED_SDA |
| IO9 | OLED_SCL |
| IO10 | TFT_DC |
| IO11 | TFT_RES |
| IO12 | BLUE LED |
| IO13 | GREEN LED |
| IO14 | RED LED |
| IO15 | DHT11 |
| IO17 | BUZZER |
| IO35 | TFT_SDA |
| IO36 | TFT_SCL |
Table 1 – Franzininho WiFi Lab01 pinout
Uploading the OLED library with Thonny IDE
The library for writing to the OLED display is not part of the standard MicroPython library. Therefore, you need to upload the library to your Franzininho WiFi board in order to use it.
To add the library using Thonny IDE, follow the steps below:
- Create a new file in Thonny and copy the library code:
#MicroPython SSD1306 OLED driver, I2C and SPI interfaces created by Adafruit

import time
import framebuf

# register definitions
SET_CONTRAST        = const(0x81)
SET_ENTIRE_ON       = const(0xa4)
SET_NORM_INV        = const(0xa6)
SET_DISP            = const(0xae)
SET_MEM_ADDR        = const(0x20)
SET_COL_ADDR        = const(0x21)
SET_PAGE_ADDR       = const(0x22)
SET_DISP_START_LINE = const(0x40)
SET_SEG_REMAP       = const(0xa0)
SET_MUX_RATIO       = const(0xa8)
SET_COM_OUT_DIR     = const(0xc0)
SET_DISP_OFFSET     = const(0xd3)
SET_COM_PIN_CFG     = const(0xda)
SET_DISP_CLK_DIV    = const(0xd5)
SET_PRECHARGE       = const(0xd9)
SET_VCOM_DESEL      = const(0xdb)
SET_CHARGE_PUMP     = const(0x8d)


class SSD1306:
    def __init__(self, width, height, external_vcc):
        self.width = width
        self.height = height
        self.external_vcc = external_vcc
        self.pages = self.height // 8
        self.poweron()
        self.init_display()

    def init_display(self):
        for cmd in (
            SET_DISP | 0x00, # off
            SET_MEM_ADDR, 0x00, # horizontal
            SET_DISP_START_LINE | 0x00,
            SET_SEG_REMAP | 0x01, # column addr 127 mapped to SEG0
            SET_MUX_RATIO, self.height - 1,
            SET_COM_OUT_DIR | 0x08, # scan from COM[N] to COM0
            SET_DISP_OFFSET, 0x00,
            SET_COM_PIN_CFG, 0x02 if self.height == 32 else 0x12,
            SET_DISP_CLK_DIV, 0x80,
            SET_PRECHARGE, 0x22 if self.external_vcc else 0xf1,
            SET_VCOM_DESEL, 0x30, # 0.83*Vcc
            SET_CONTRAST, 0xff, # maximum
            SET_ENTIRE_ON, # output follows RAM contents
            SET_NORM_INV, # not inverted
            SET_CHARGE_PUMP, 0x10 if self.external_vcc else 0x14,
            SET_DISP | 0x01): # on
            self.write_cmd(cmd)
        self.fill(0)
        self.show()

    def poweroff(self):
        self.write_cmd(SET_DISP | 0x00)

    def contrast(self, contrast):
        self.write_cmd(SET_CONTRAST)
        self.write_cmd(contrast)

    def invert(self, invert):
        self.write_cmd(SET_NORM_INV | (invert & 1))

    def show(self):
        x0 = 0
        x1 = self.width - 1
        if self.width == 64:
            x0 += 32
            x1 += 32
        self.write_cmd(SET_COL_ADDR)
        self.write_cmd(x0)
        self.write_cmd(x1)
        self.write_cmd(SET_PAGE_ADDR)
        self.write_cmd(0)
        self.write_cmd(self.pages - 1)
        self.write_framebuf()

    def fill(self, col):
        self.framebuf.fill(col)

    def pixel(self, x, y, col):
        self.framebuf.pixel(x, y, col)

    def scroll(self, dx, dy):
        self.framebuf.scroll(dx, dy)

    def text(self, string, x, y, col=1):
        self.framebuf.text(string, x, y, col)


class SSD1306_I2C(SSD1306):
    def __init__(self, width, height, i2c, addr=0x3c, external_vcc=False):
        self.i2c = i2c
        self.addr = addr
        self.temp = bytearray(2)
        self.buffer = bytearray(((height // 8) * width) + 1)
        self.buffer[0] = 0x40
        self.framebuf = framebuf.FrameBuffer1(memoryview(self.buffer)[1:], width, height)
        super().__init__(width, height, external_vcc)

    def write_cmd(self, cmd):
        self.temp[0] = 0x80
        self.temp[1] = cmd
        self.i2c.writeto(self.addr, self.temp)

    def write_framebuf(self):
        self.i2c.writeto(self.addr, self.buffer)

    def poweron(self):
        pass


class SSD1306_SPI(SSD1306):
    def __init__(self, width, height, spi, dc, res, cs, external_vcc=False):
        self.rate = 10 * 1024 * 1024
        dc.init(dc.OUT, value=0)
        res.init(res.OUT, value=0)
        cs.init(cs.OUT, value=1)
        self.spi = spi
        self.dc = dc
        self.res = res
        self.cs = cs
        self.buffer = bytearray((height // 8) * width)
        self.framebuf = framebuf.FrameBuffer1(self.buffer, width, height)
        super().__init__(width, height, external_vcc)

    def write_cmd(self, cmd):
        self.spi.init(baudrate=self.rate, polarity=0, phase=0)
        self.cs.high()
        self.dc.low()
        self.cs.low()
        self.spi.write(bytearray([cmd]))
        self.cs.high()

    def write_framebuf(self):
        self.spi.init(baudrate=self.rate, polarity=0, phase=0)
        self.cs.high()
        self.dc.high()
        self.cs.low()
        self.spi.write(self.buffer)
        self.cs.high()

    def poweron(self):
        self.res.high()
        time.sleep_ms(1)
        self.res.low()
        time.sleep_ms(10)
        self.res.high()
- Go to File > Save as and select the MicroPython device.

- Name the file "ssd1306.py" and click OK to save it to the board.
That's it — the library has been loaded onto your board. You can now use its features in your code by importing the library.
Code
Hello, World on the Display
With the Franzininho WiFi connected to your computer, open Thonny and create a new file containing the following code:
from machine import Pin, SoftI2C
import ssd1306

# Franzininho pin assignment
i2c = SoftI2C(scl=Pin(9), sda=Pin(8))

# configuring display
oled_width = 128
oled_height = 64
oled = ssd1306.SSD1306_I2C(oled_width, oled_height, i2c)

# display output
oled.text('Hello, World 1!', 0, 0)
oled.text('Hello, World 2!', 0, 20)
oled.text('Hello, World 3!', 0, 40)

oled.show()
We start the code with from machine import Pin, SoftI2C to be able to access the board pins and use I2C communication to configure the display. Also import the ssd1306 library that was previously installed on your board.
According to the pinout table, the OLED's SCL and SDA pins are pins 9 and 8, respectively. This is how I2C is configured. Then we define the display width and height, which in this case are 128×64.
With all this information, create a variable called oled to control the display. This variable receives the OLED width and height as well as the I2C pins we defined earlier.
After initializing the OLED display, you just need to use the text() function on oled to write text. The text() function accepts the following arguments, respectively:
- Message: must be of type String.
- X position: where the text starts horizontally.
- Y position: where the text is displayed vertically.
- Text color: can be black or white. This parameter is optional and the default color is white.
- 0 = black
- 1 = white
In the example, we are displaying three strings, all starting at the coordinate x=0 and varying the y value, which causes each sentence to be written on a line below the previous one.
After the text() function calls, it is necessary to call the show() function to update the OLED. The display output is shown below:
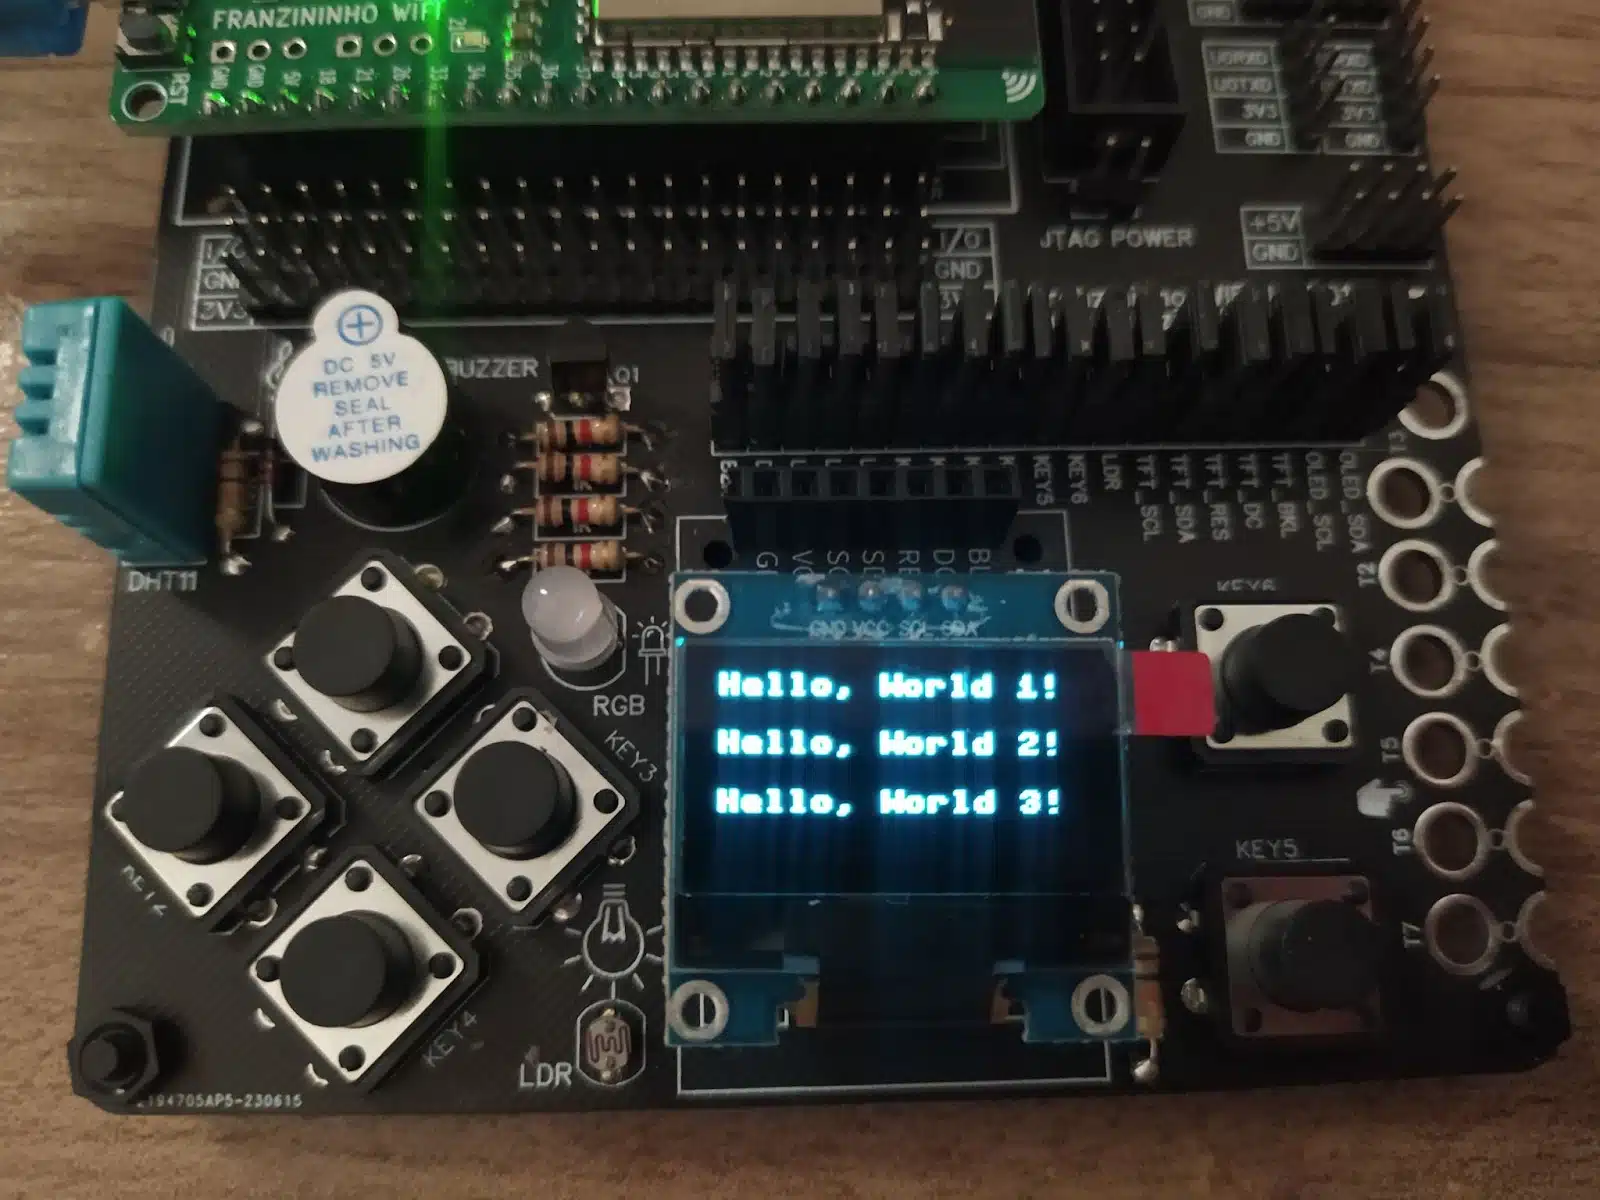
Figure 2 – Text output on the display.
Displaying an image on the display
In this example, we will see how to display an image (bitmap) on the SSD1306 OLED Display. For this, I recommend searching for 'pixel art', as it is easier to display. You can also create your own images using photo editing software such as Adobe Photoshop, GIMP, or another that supports pixel art.
It is important to note that when using an SSD1306 OLED display, some considerations are essential. The image you want to display must have the following characteristics:
- Compatible Size: The image must have a size equal to or smaller than the resolution of the SSD1306 OLED display, in this case 128×64 pixels.
- Grayscale or Monochromatic: The SSD1306 OLED display is monochromatic, which means it can only display images in black and white (1 bit per pixel) or, in some cases, in limited grayscale. Therefore, the image must be in grayscale or monochromatic.
However, the image cannot be directly inserted into the display — it is necessary to convert the bitmap image format into code. A practical solution for this conversion is to use Lucky Resistor, a software tool that converts various bitmap image formats into code to easily embed in your MicroPython project.
With the Franzininho WiFi Lab01 connected to your computer, open Thonny and create a new file containing the following code:
from machine import Pin, SoftI2C
import ssd1306
import framebuf

# Franzininho Pin assignment
i2c = SoftI2C(scl=Pin(9), sda=Pin(8))

oled_width = 128  # OLED screen width
oled_height = 64  # OLED screen height
oled = ssd1306.SSD1306_I2C(oled_width, oled_height, i2c)

luffy_image = bytearray(b'\x00\x00\x00\x00\x00\x00\x00\x00\x00\x00\x00\x00\x00\x00\x00\x00\x00\x00\x00\x00\x00\x00\x00\x00\x00\x00\x00\x00\x00\x00\x00\x00\x00\x00\x00\x00\x00\x00\xff\xff\xff\xff\x00\x00\x00\x00\x00\x00\x00\x00\x00\x00\x00\xff\xff\xff\xff\xff\xff\x00\x00\x00\x00\x00\x00\x00\x00\x00\x00\xff\xff\xff\xff\xff\xff\x00\x00\x00\x00\x00\x00\x00\x00\x00\x00\x00\x00\xff\xff\xff\xff\xf0\x00\x00\x00\x00\x00\x00\x00\x00\x00\x00\x00\xff\xff\xff\xff\xf0\x00\x00\x00\x00\x00\x00\x00\x0f\xff\xff\xff\x00\x00\xff\xff\xff\x00\x00\x00\x00\x00\x00\x0f\xff\xff\xff\xff\xff\xff\x00\xff\xff\x00\x00\x00\x00\x00\x00\x0f\xff\xff\xff\xff\xff\xff\x00\xff\xff\x00\x00\x00\x00\x00\x00\xff\xff\xff\xff\xff\xff\xff\xff\x00\xff\xf0\x00\x00\x00\x00\x00\xff\xff\xff\xff\xff\xff\xff\xff\x00\xff\xf0\x00\x00\x00\x00\x0f\xff\xff\xf0\x00\x0f\xff\xff\xff\xff\x00\xf0\x00\x00\x00\x00\x0f\xff\xf0\x00\x00\x00\x00\xff\xff\xff\xff\x00\x00\x00\x00\x00\x0f\xff\xf0\x00\x00\x00\x00\xff\xff\xff\xff\x00\x00\x00\x00\x00\x00\xff\x00\x00\x00\xf0\x00\x00\x0f\xff\xff\xf0\x00\x00\x00\x00\x00\xff\x00\x00\x00\xf0\x00\x00\x0f\xff\xff\xf0\x00\x00\x00\x00\x00\x00\x00\x00\x0f\xff\x00\x00\x00\x0f\xff\xff\x00\x00\x00\x00\x00\x00\x00\x00\x0f\xff\x00\x00\x00\x0f\xff\xff\x00\x00\x00\x00\x00\x00\x00\x00\xff\xff\xf0\x00\x00\x00\xff\xff\x00\x00\x00\x00\x00\x00\x00\x00\xff\xff\xf0\x00\x00\x00\x0f\xff\xf0\x00\x00\x00\x00\x00\x00\x00\xff\xff\xf0\x00\x00\x00\x0f\xff\xf0\x00\x00\x00\x00\x00\x0f\x0f\xff\xff\x0f\x00\x00\x00\x0f\xff\xf0\x00\x00\x00\x00\x00\x0f\x0f\xff\xff\x0f\x00\x00\x00\x0f\xff\xf0\x00\x00\x00\x00\x00\x0f\xf0\xff\xff\xf0\xf0\x00\x00\x00\xff\xf0\x00\x00\x00\x00\x00\x0f\x00\xff\xff\x00\xf0\xf0\x00\x0f\x0f\xf0\x00\x00\x00\x00\x00\x0f\x00\xff\xff\x00\xf0\xf0\x00\x0f\x0f\xf0\x00\x00\x00\x00\x00\x0f\xff\xff\xff\xff\xff\xf0\xf0\x0f\xff\x00\x00\x00\x00\x00\x00\x0f\xff\xff\xff\xff\xff\xf0\xf0\x0f\xff\x00\x00\x00\x00\x00\x00\x0f\xff\xff\xff\xff\xff\xf0\xff\x0f\x00\x00\x00\x00\x00\x00\x00\x0f\xff\xf0\xff\xff\xff\xff\xff\x00\x00\x00\x00\x00\x00\x00\x00\x0f\xff\xf0\xff\xff\xff\xff\xff\x00\x00\x00\x00\x00\x00\x00\x00\x00\xff\xff\xff\xff\xff\xff\xf0\x00\x00\x00\x00\x00\x00\x00\x00\x00\xff\xff\xff\xff\xff\xff\xf0\x00\x00\x00\x00\x00\x00\x00\x00\x00\x00\xff\xff\xff\xff\x00\x00\x00\x00\x00\x00\x00\x00\x00\x00\x00\x00\x00\x00\x00\x00\x00\x00\x00\x00\x00\x00\x00\x00\x00\x00\x00\x00\x00\x00\x00\x00\x00\x00\x00\x00\x00\x00\x00\x00\x00\x00\x00\x00\x00\xff\x0f\xf0\xf0\x00\x00\x00\x00\x00\x00\x00\x00\x00\x00\x00\x00\xff\x0f\xf0\xf0\x00\x00\x00\x00\x00\x00\x00\x00\x00\x00\x00\x0f\xff\xff\xf0\xf0\x00\x00\x00\x00\x00\x00\x00\x00\x00\x00\x00\x0f\xf0\xff\xf0\xff\x00\x00\x00\x00\x00\x00\x00\x00\x00\x00\x00\x0f\xf0\xff\xf0\xff\x00\x00\x00\x00\x00\x00\x00\x00\x00\x00\x00\xff\xff\xff\xff\x0f\x00\x00\x00\x00\x00\x00\x00\x00\x00\x00\x00\xff\xff\xff\xff\x0f\x00\x00\x00\x00\x00\x00\x00\x00\x00\x00\xf0\xff\xf0\xff\xff\x0f\x00\x00\x00\x00\x00\x00\x00\x00\x00\x00\xff\x00\xff\xff\xf0\xff\xff\x00\x00\x00\x00\x00\x00\x00\x00\x00\xff\x00\xff\xff\xf0\xff\xff\x00\x00\x00\x00\x00\x00\x00\x00\x00\x00\xff\xf0\x00\x00\xff\xff\x00\x00\x00\x00\x00\x00\x00\x00\x00\x00\xff\xf0\x00\x00\xff\xff\x00\x00\x00\x00\x00\x00\x00\x00\x00\x00\xff\xff\xff\xf0\xff\xf0\x00\x00\x00\x00\x00\x00\x00\x00\x00\x00\x0f\xf0\x0f\xf0\xff\xf0\x00\x00\x00\x00\x00\x00\x00\x00\x00\x00\x0f\xf0\x0f\xff\x00\x00\x00\x00\x00\x00\x00\x00\x00\x00\x00\x00\x0f\x00\x00\xff\xf0\x00\x00\x00\x00\x00\x00\x00\x00\x00\x00\x00\x0f\x00\x00\xff\xf0\x00\x00\x00\x00\x00\x00\x00\x00\x00\x00\xff\xff\x00\x00\x0f\xf0\x00\x00\x00\x00\x00\x00\x00\x00\x00\x00\xff\xff\x00\x00\x0f\xf0\x00\x00\x00\x00\x00\x00\x00\x00\x00\x0f\xff\xff\x00\x00\xff\xf0\x00\x00\x00\x00\x00\x00\x00\x00\x00\x00\x00\x00\x00\x00\xff\xff\x00\x00\x00\x00\x00\x00\x00\x00\x00\x00\x00\x00\x00\x00\xff\xff\x00\x00\x00\x00\x00\x00\x00\x00\x00\x00\x00\x00\x00\x00\xff\xff\x00\x00\x00\x00\x00\x00\x00\x00\x00\x00\x00\x00\x00\x00\xff\xff\x00\x00\x00\x00\x00\x00\x00\x00\x00\x00\x00\x00\x00\x00\x00\x00\x00\x00\x00\x00\x00\x00\x00\x00\x00\x00\x00\x00\x00\x00\x00\x00\x00\x00\x00\x00\x00\x00\x00\x00\x00\x00\x00\x00\x00\x00\x00\x00\x00\x00\x00\x00\x00\x00')

fb = framebuf.FrameBuffer(luffy_image, 128, 64, framebuf.MONO_HLSB)

oled.framebuf.fill(0)
oled.framebuf.blit(fb, 8, 0)

oled.show()
We start with from machine import Pin, SoftI2C to be able to access the board pins and use I2C communication to configure the display. Also import the ssd1306 library that was previously installed on your board.
Additionally, framebuf also needs to be imported. This library offers essential resources to directly control and manipulate the display, making it possible to overcome the limitations of the SSD1306 library, which only offers basic display functionality on the OLED.
According to the pinout table, the OLED's SCL and SDA pins are pins 9 and 8, respectively. This is how I2C is configured. Then we define the display width and height, which in this case are 128×64.
With all this information, create a variable called oled to control the display. This variable receives the OLED width and height as well as the I2C pins we defined earlier.
Next, we have the definition of the luffy_image already converted to bytearray format, which is a representation of the image as an array of bytes, where each byte contains information about the image pixels.
Now we can configure how the image will be displayed on the screen. In the FrameBuffer function we pass the image, its size (width × height), and the pixel format as "MONO_HLSB", which means the pixels are monochromatic (black and white) and organized in Horizontal Line Sequential Bit (HLSB) format. In other words, pixels are organized so that each byte contains 8 adjacent horizontal pixels.
There are two other formats in which pixels can be organized:
- MONO_HMSB: Horizontal Line Sequential Bit (HMSB) is similar to HLSB, but the order of bits in each byte is reversed. This format is used in some displays that have a specific bit order.
- MONO_VLSB: Vertical Line Sequential Bit (VLSB) is a format in which pixels are organized vertically, with each byte containing a single pixel per column, and the next column of pixels is stored in the next byte. This format is effective for displays that are updated vertically.
The fill() function fills the display with zeros, clearing anything that may be on the screen. Then, with the "blit" operation, the image is copied with an offset of 8 pixels horizontally and 0 pixels vertically. This means the image will be displayed starting 8 pixels from the left margin of the OLED display, without moving vertically.
Finally, the show() function must be called to update the OLED. The display output is shown below:
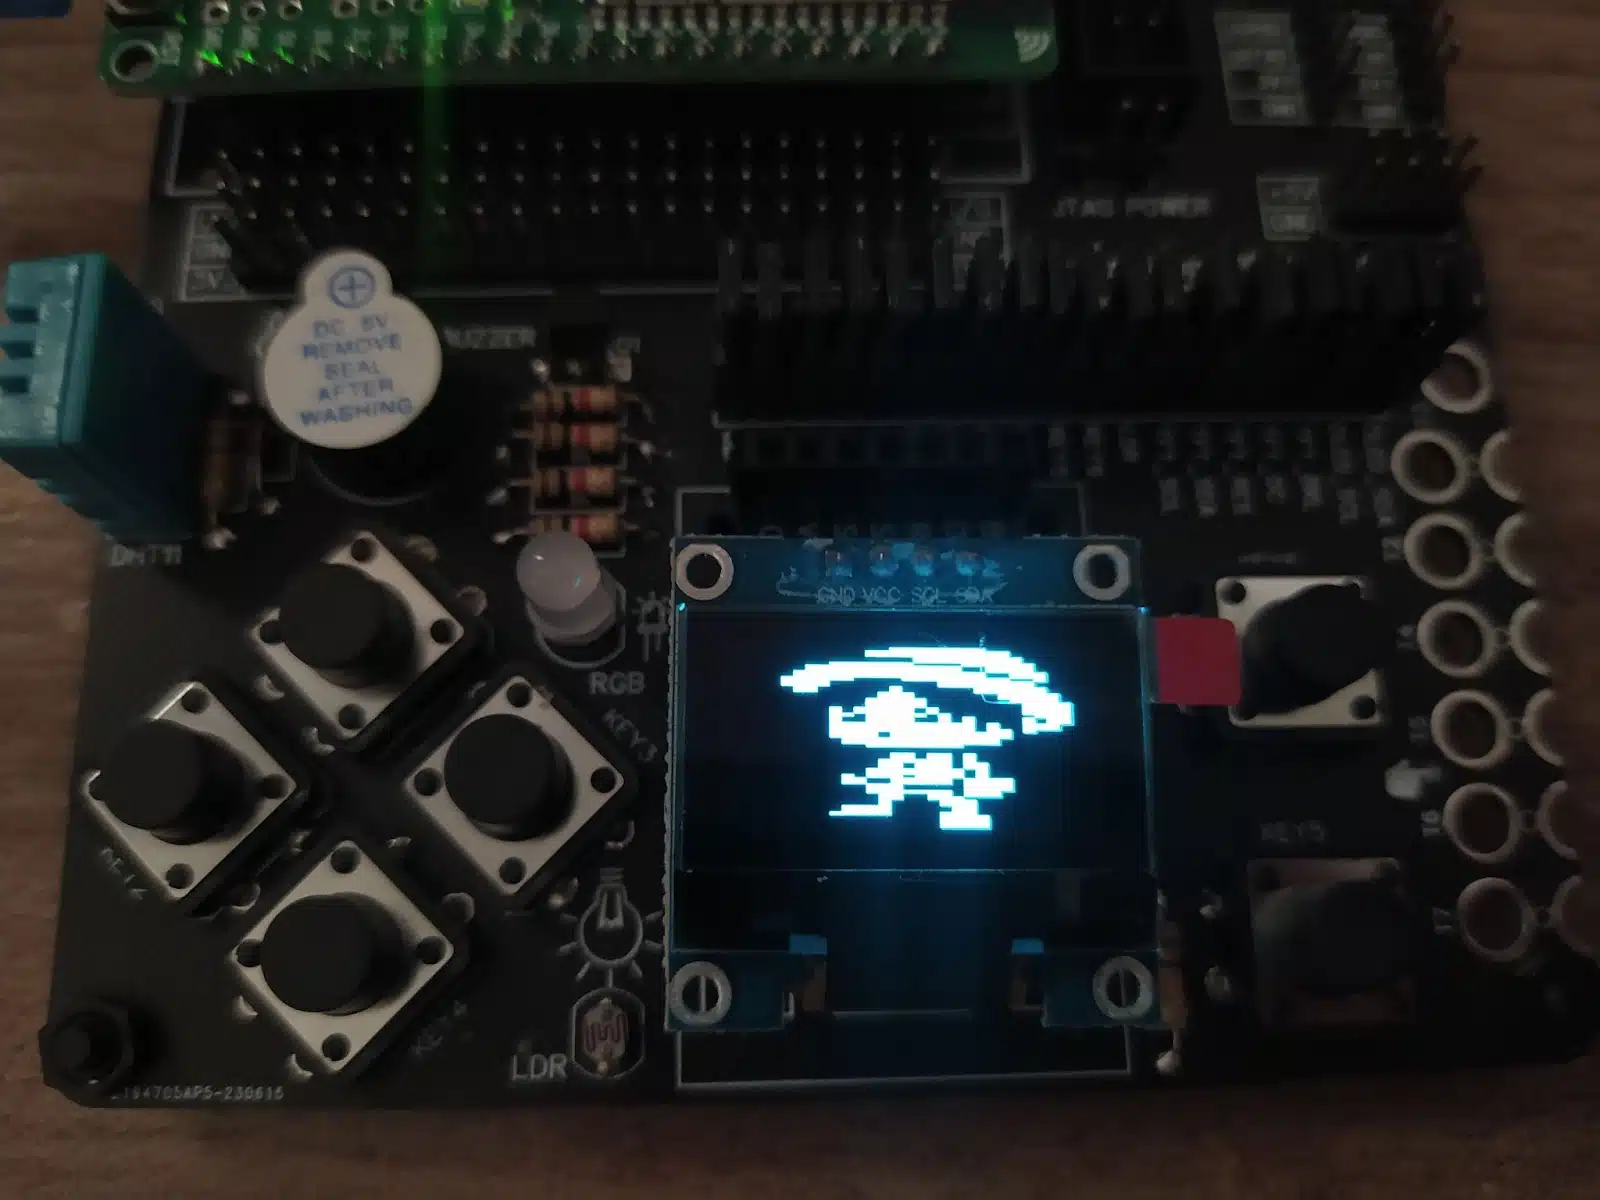
Figure 3 – Image output on the display
Conclusion
In this article, we explored how to work with OLED screens on the Franzininho WiFi. From the most basic features, such as writing text on the screen, to displaying bitmap images, we were able to unlock the creative and informational potential of these screens.
As you advance in your projects with the Franzininho WiFi Lab01, remember that you have a powerful resource available to improve the usability of your creations. Here is a suggestion to use your creativity and create more complex projects to display on your screen.
| Author | Sthefania Fernandes |
|---|---|
| Date: | 15/12/2023 |