Colorful Elephant! What Color?
This example shows how to use the RGB LED for an educational application. We can adapt this game with electronics — check it out below!
Colorful Elephant! What Color?
"Colorful Elephant" (Elefante Colorido) is a children's game characteristic of the Southeast region of Brazil, specifically from the city of São Paulo. The rules are as follows: one child is chosen to be the leader. In a circle, they say to the others: "Colorful Elephant!" The group asks: "What color is it?" The leader chooses a color and the children run to touch something that has the color the leader chose.
With this game we can develop various skills, such as concentration, attention, motor coordination, color recognition, visual and auditory discrimination.
Can we adapt this game with electronics?
Yes, and best of all it is aligned with the BNCC (Brazilian National Common Curriculum Base).
For Early Childhood Education we work with the Experience Fields:
- Traces, sounds, colors, and shapes
- Listening, speaking, thinking, and imagination
For Elementary School (1st to 5th grade):
- (EF15AR02) Explore and recognize constitutive elements of visual arts (point, line, shape, color, space, movement, etc.).
- (EF15AR26) Explore different technologies and digital resources (multimedia, animations, electronic games, audio and video recordings, photography, software, etc.) in artistic creation processes.
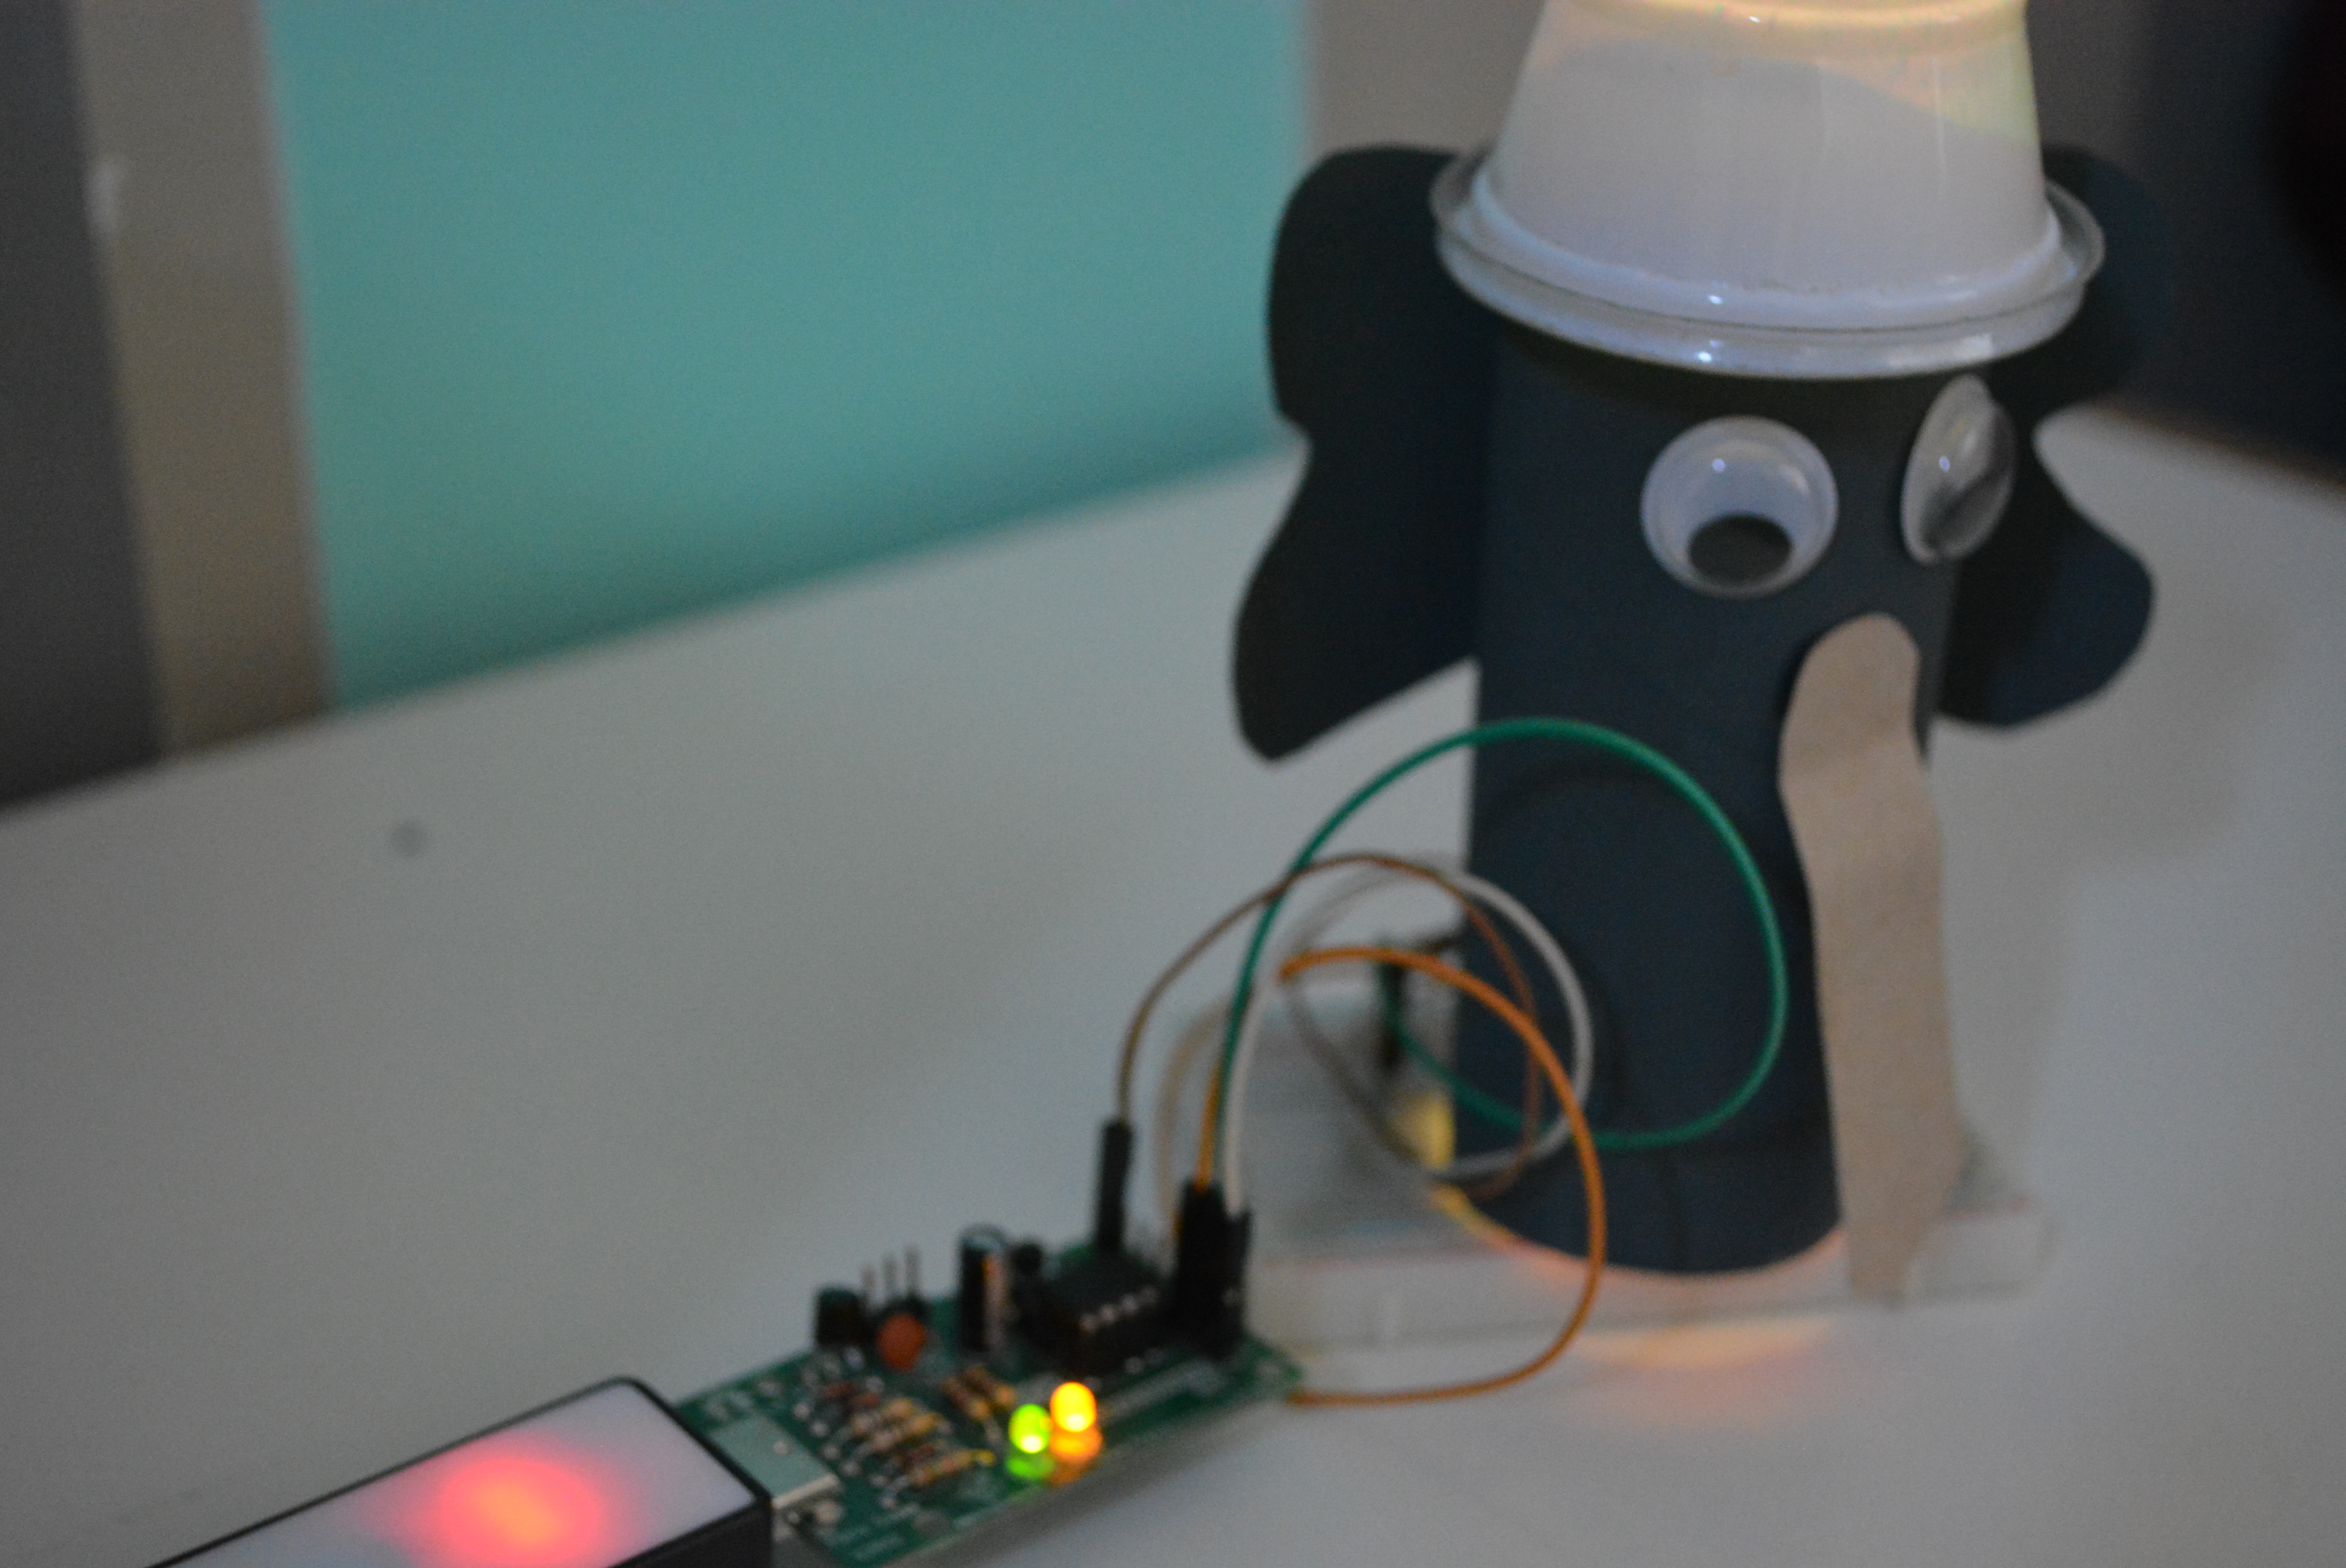
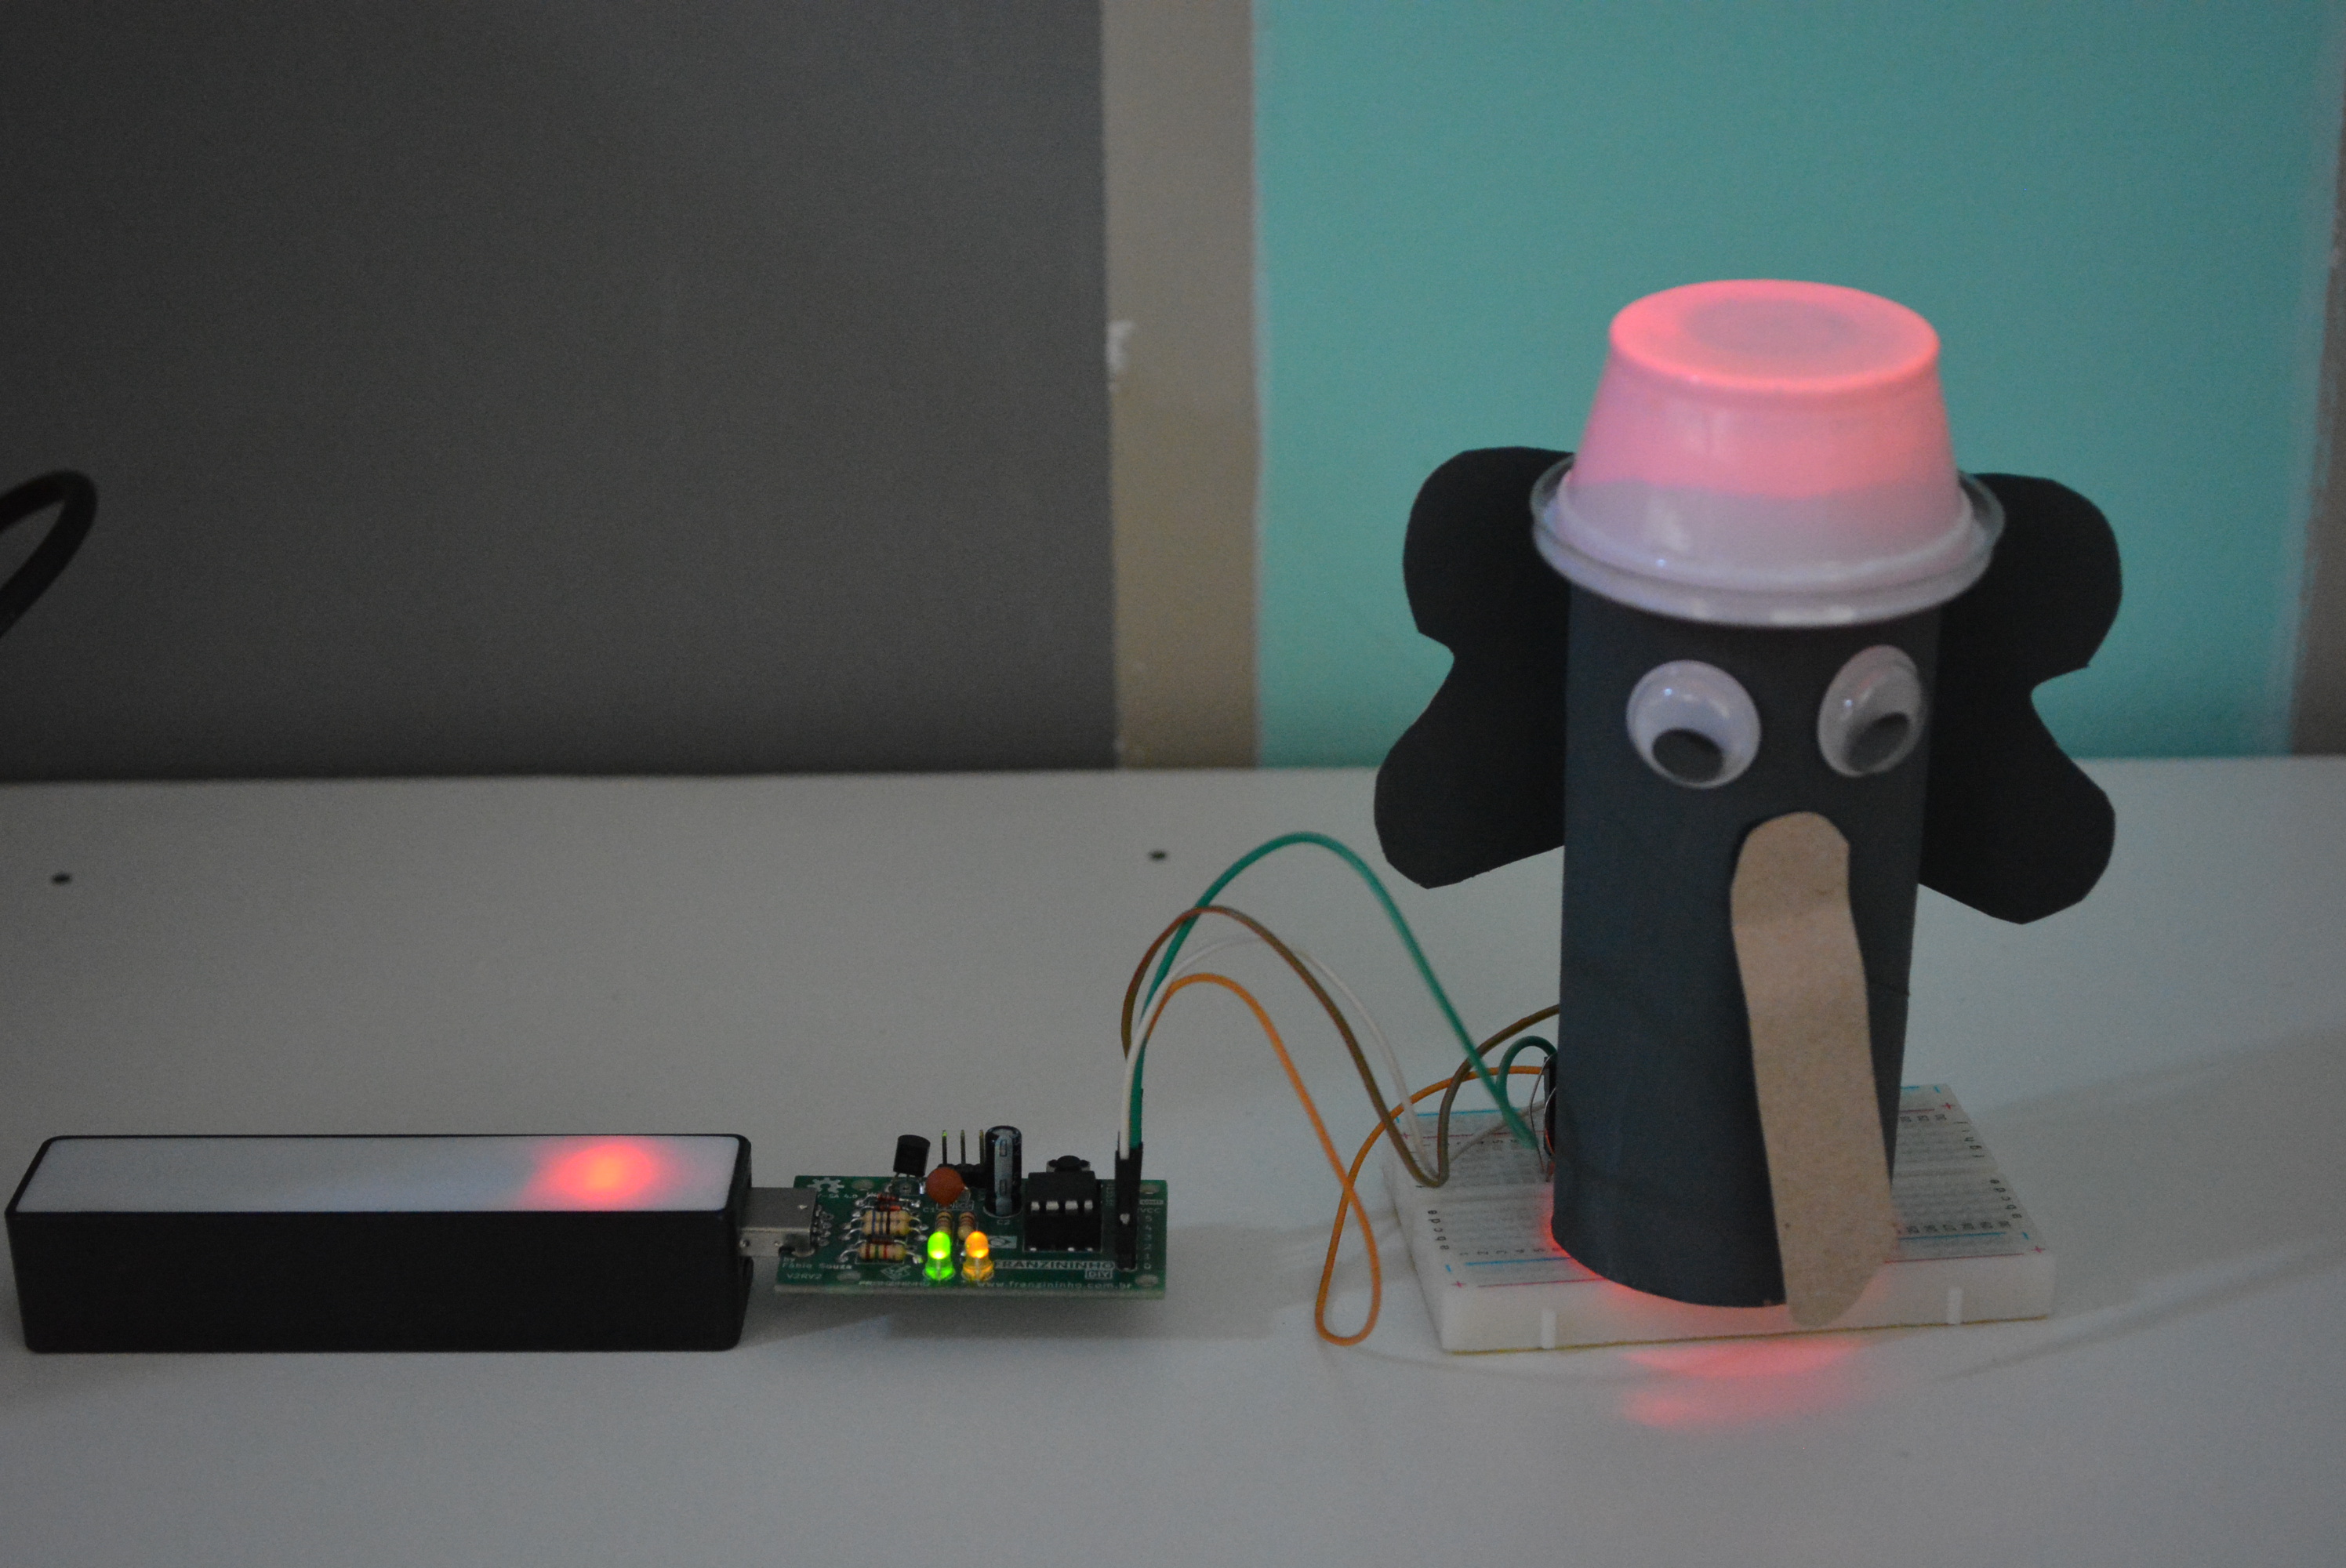
Materials
- 1 Franzininho board
- 1 Breadboard
- 1 RGB LED
- 3 1k resistors
- 3 Male/female jumper wires
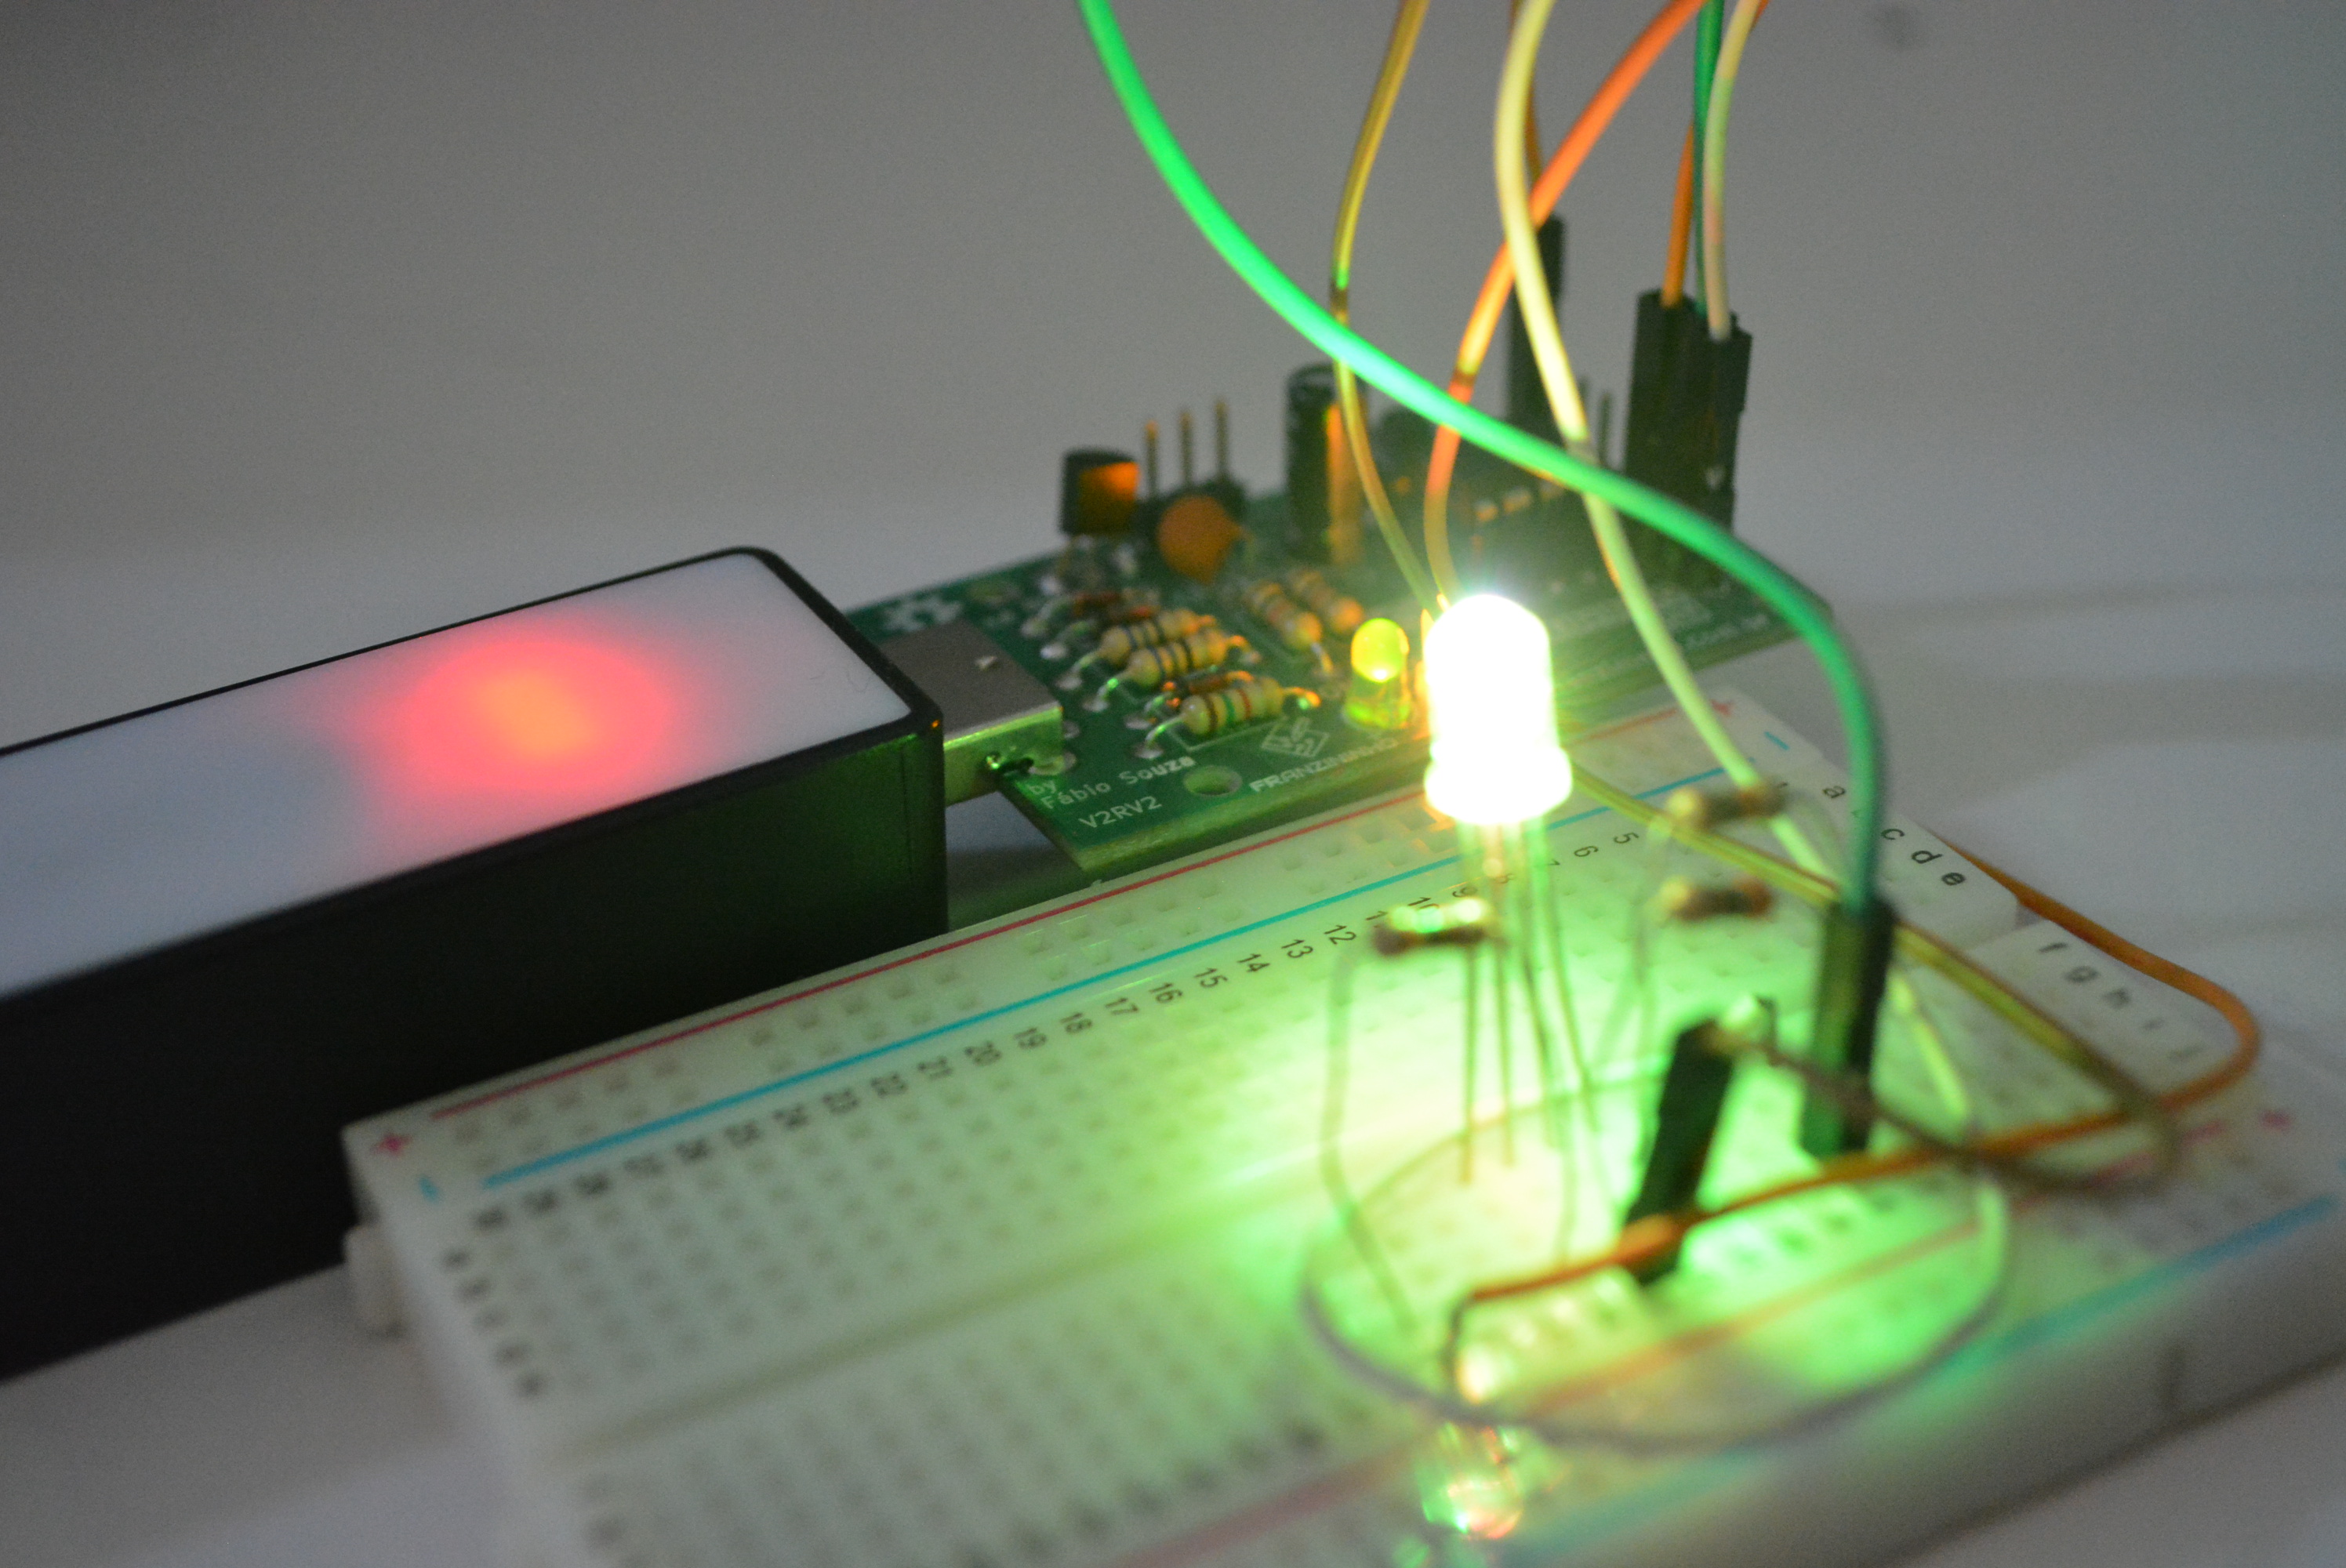
Circuit
On the breadboard you can assemble it as follows:
You can assemble it outside the breadboard later!
Code
Simple mode: using only 3 colors: red, green, and blue.
// RGB with the Franzininho DIY

const int red = 0;
const int green = 1;
const int blue = 2;

void setup() {
  // configure each color pin as output:
  pinMode(red, OUTPUT);
  pinMode(green, OUTPUT);
  pinMode(blue, OUTPUT);
}

void loop() {
  // activate LED in red color:
  digitalWrite(red, HIGH);
  digitalWrite(green, LOW);
  digitalWrite(blue, LOW);
  delay(5000); // wait 5000ms

  // activate LED in green color:
  digitalWrite(red, LOW);
  digitalWrite(green, HIGH);
  digitalWrite(blue, LOW);
  delay(5000); // wait 5000ms

  // activate LED in blue color:
  digitalWrite(red, LOW);
  digitalWrite(green, LOW);
  digitalWrite(blue, HIGH);
  delay(5000); // wait 5000ms
}
Advanced mode: varying the colors, check it out!
const int red = 0;
const int green = 1;
const int blue = 2;

// variables to save the intensity of each color
int val_r = 255; // red
int val_g = 0;   // green
int val_b = 0;   // blue

void setup() {
  // configure each color pin as output:
  pinMode(red, OUTPUT);
  pinMode(green, OUTPUT);
  pinMode(blue, OUTPUT);

  // initialize LED in red color at maximum intensity
  analogWrite(red, val_r);
  analogWrite(green, val_g);
  analogWrite(blue, val_b);
}

void loop() {
  // increase green LED intensity
  for (val_g = 0; val_g < 255; val_g = val_g + 5) {
    analogWrite(green, val_g);
    delay(50); // wait 50ms
  }

  // decrease red LED intensity
  for (val_r = 255; val_r > 0; val_r = val_r - 5) {
    analogWrite(red, val_r);
    delay(50); // wait 50ms
  }

  // increase blue LED intensity
  for (val_b = 0; val_b < 255; val_b = val_b + 5) {
    analogWrite(blue, val_b);
    delay(50); // wait 50ms
  }

  // decrease green LED intensity
  for (val_g = 255; val_g > 0; val_g = val_g - 5) {
    analogWrite(green, val_g);
    delay(50);
  }

  // increase red LED intensity
  for (val_r = 0; val_r < 255; val_r = val_r + 5) {
    analogWrite(red, val_r);
    delay(50); // wait 50ms
  }
}