Analog Inputs
In the Franzininho DIY some pins can be used as analog inputs:
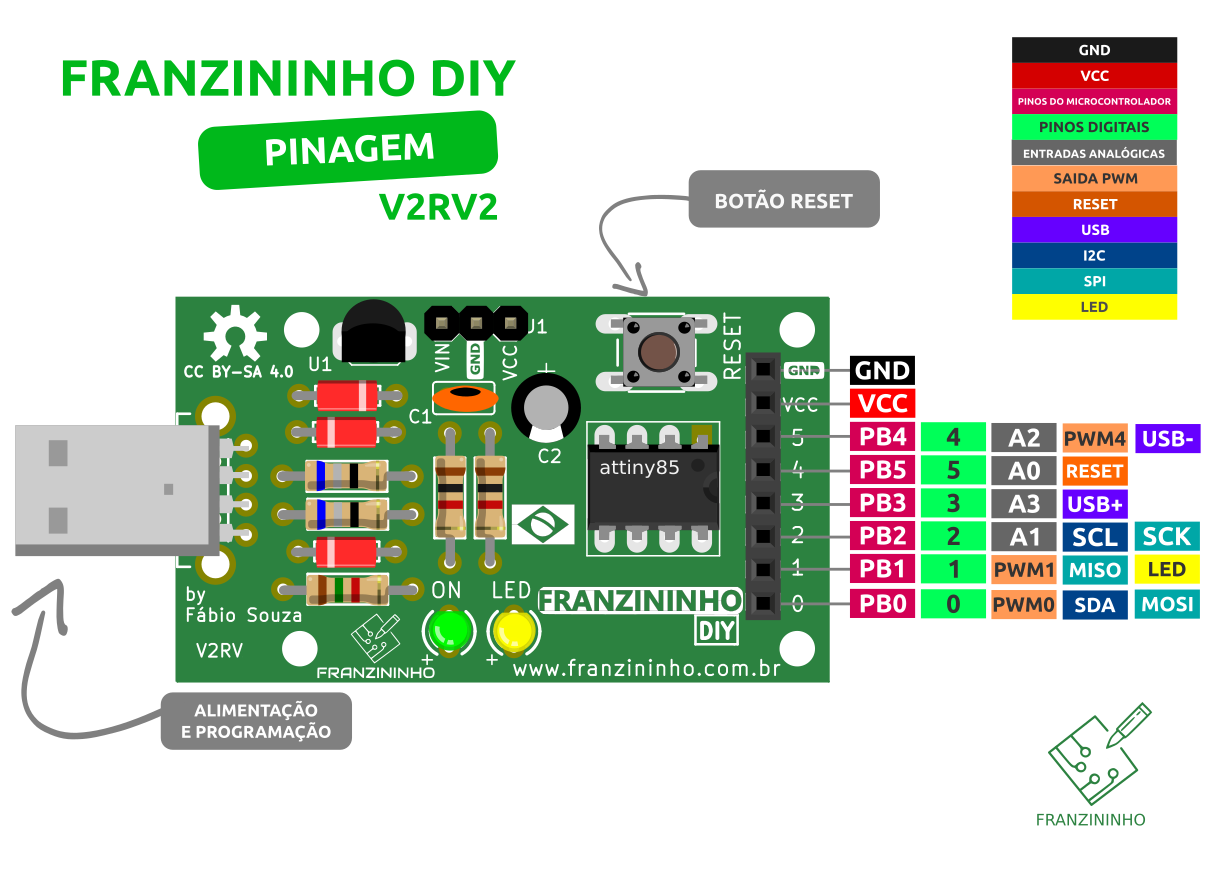
Due to Franzininho DIY hardware limitations, we recommend using only Analog Input A1 for analog signals. The other inputs (A0, A2, A3) should be used with caution, analyzing the circuit to ensure the circuitry on the pin will not interfere with the analog signal.
Function
To read an analog signal on a pin with this function, it is not necessary to configure the pin as an analog input. This is done in the read function:
int analogRead(pin)
Reads the value present on a pin configured as an analog input. Internally the Arduino has a 10-bit A/D converter. Therefore the value returned by this function will be in the range 0 to 1023 according to the value present on the pin.
Syntax
analogRead(pin);
Parameters
pin: number of the pin configured as analog input (0, 1, 2, 3 on the Franzininho)
Return
int (0 to 1023)
Example
Read the value of a potentiometer connected to pin P2 (A1) and activate the LED when the reading reaches a defined value:

const byte LED = 1;    // LED pin
const byte POT = A1;   // Potentiometer pin

void setup() {
  pinMode(LED, OUTPUT);
}

void loop() {

  int value = analogRead(POT); // read the potentiometer value

  if(value > 511){             // if value is greater than 511
    digitalWrite(LED, HIGH);   // turn LED on
  } else {                     // otherwise
    digitalWrite(LED, LOW);    // turn LED off
  }
}