PWM - Pulse Width Modulation
In this article we will learn how to use PWM in CircuitPython, a widely used technique for power control. See how easy it is to apply.
PWM stands for Pulse Width Modulation. It is a technique where a digital output is used to simulate an analog output. This happens through constant signal changes that are imperceptible, so the component connected to that pin only averages how long it is in a high and low state. The more time it is on, the higher the value; consequently, the less time it is on, the lower the value.
In this example, we will learn how to use PWM with CircuitPython on the Franzininho WiFi.
Required Materials
- 1 Franzininho WiFi board with CircuitPython
- 1 Breadboard
- 1 LED
- 1 10 kΩ potentiometer
- 1 220 Ω or 330 Ω resistor
- Jumper wires
Circuit
For our first experiments, make the following assembly:
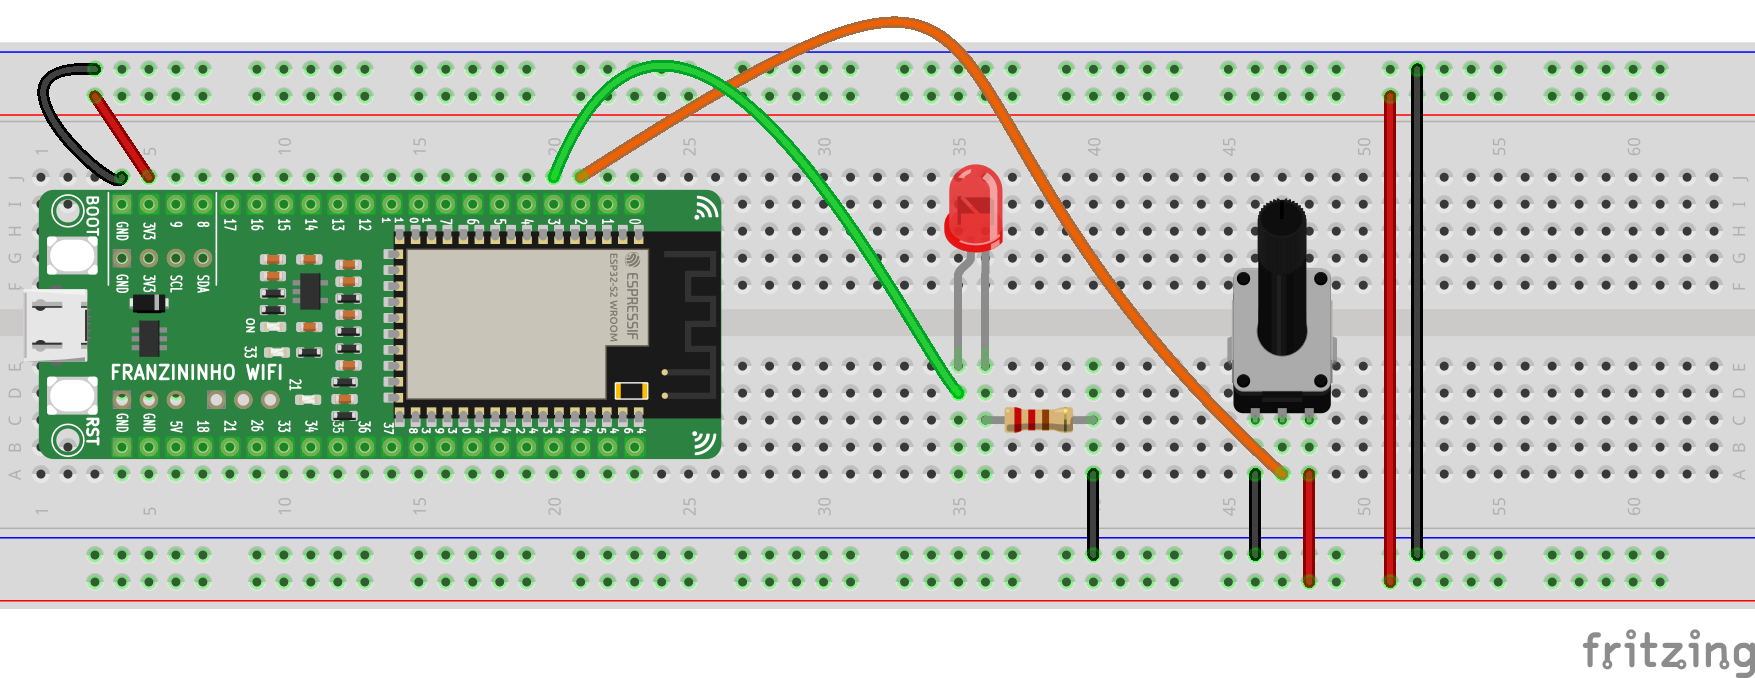 Figure 1 – Circuit for PWM testing with CircuitPython on the Franzininho WiFi
Code for PWM with CircuitPython
For this code, we will use the simpleio library, which is needed to perform value conversion. CircuitPython libraries can be found at: https://circuitpython.org/libraries. Download it according to the CircuitPython version installed on your Franzininho WiFi.
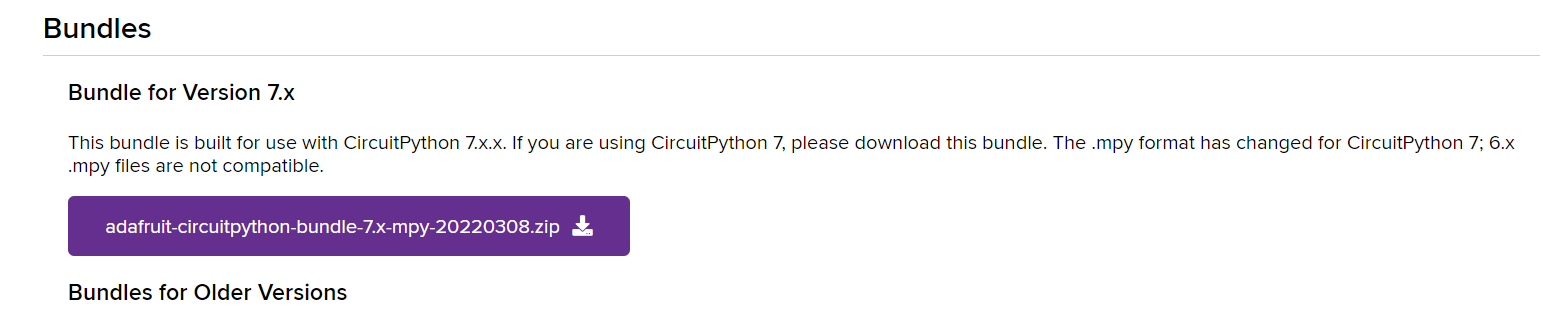
After downloading the file, copy the desired folder to the Franzininho WiFi files folder:
simpleio.mpy
Write the code below in the code.py file located in the Franzininho directory:
import pwmio
import math
import simpleio
from analogio import AnalogIn
from time import sleep

potIn = board.IO2
pot = AnalogIn(potIn)

LED = board.IO4
led = pwmio.PWMOut(LED)

def converter(pin):
    pinValue = pin.value
    mapValue = math.trunc(simpleio.map_range
               (pinValue, 536, 51355, 0, 65535))
    print('Original Value: ', pinValue,
          'Converted Value: ', mapValue)
    return mapValue

while True:
    potValue = converter(pot)
    led.duty_cycle = potValue
    sleep(0.1)
After finishing editing the code, save it. Run the program.
We will use the board module to access the Franzininho pins:
import board
And to configure the PWM pins, we need to import pwmio:
import pwmio
We will also need the math library to eliminate decimal places:
import math
As mentioned earlier, we will use the simpleio module:
import simpleio
We will also import the AnalogIn function from the analogio module to configure the potentiometer as an analog input:
from analogio import AnalogIn
We will also call the sleep function from the time library, since we need timing intervals:
from time import sleep
Now, after importing all the modules we will use, let's configure the pins. First, let's associate GPIO2 with a variable called potIn. After that, let's create an object called pot and configure it as an analog input:
LED = board.IO4
led = pwmio.PWMOut(LED)
Initial configuration done! Next, let's create a function called converter. As a parameter, this function will receive the pin we are reading:
def converter(pin):
Inside the function, we read the potentiometer value, which will be stored in the pinValue variable:
pinValue = pin.value
We will also convert the potentiometer value to the value accepted by PWM pins using the simpleio.map_range function. The parameters of this function are: raw value (in this case, the value received at that moment), minimum input value, maximum input value, minimum output value, and maximum output value. We will also use math.trunc to eliminate decimal places. All this information will be stored in the mapValue variable:
mapValue = math.trunc(simpleio.map_range
               (pinValue, 536, 51355, 0, 65535))
We add the print just to visualize the conversion:
print('Original Value: ', pinValue,
          'Converted Value: ', mapValue)
    return mapValue
And the function returns mapValue:
return mapValue
Finally, the loop. Inside the while True, we associate the value returned by the converter function to potValue and send that value to the LED. To send a value to the component, we use the duty_cycle function, which is the duty cycle — i.e., how long the signal will be on or off. We also add a delay:
while True:
    potValue = converter(pot)
    led.duty_cycle = potValue
    sleep(0.1)
Conclusion
In this example, we learned how to use PWM pins with CircuitPython and how to control them through a potentiometer. We also learned how to map values. In the next example, we will learn how to use Servo Motors.
| Author | Mateus Adriano Ventura Vieira |
|---|---|
| Date: | 09/05/2022 |