Servo motor
A servo motor is a small DC motor. Unlike other DC motors where we only control the rotation speed, we can control the position of a servo through PWM.
The servo we will use in this example has a half-turn resolution, i.e., from 0° to 180°.
Required Materials
- 1 Franzininho WiFi board with CircuitPython
- 1 9g micro servo
- 1 Breadboard
- 1 10 kΩ potentiometer
- Jumper wires
Circuit
For the examples below, make the following assembly:
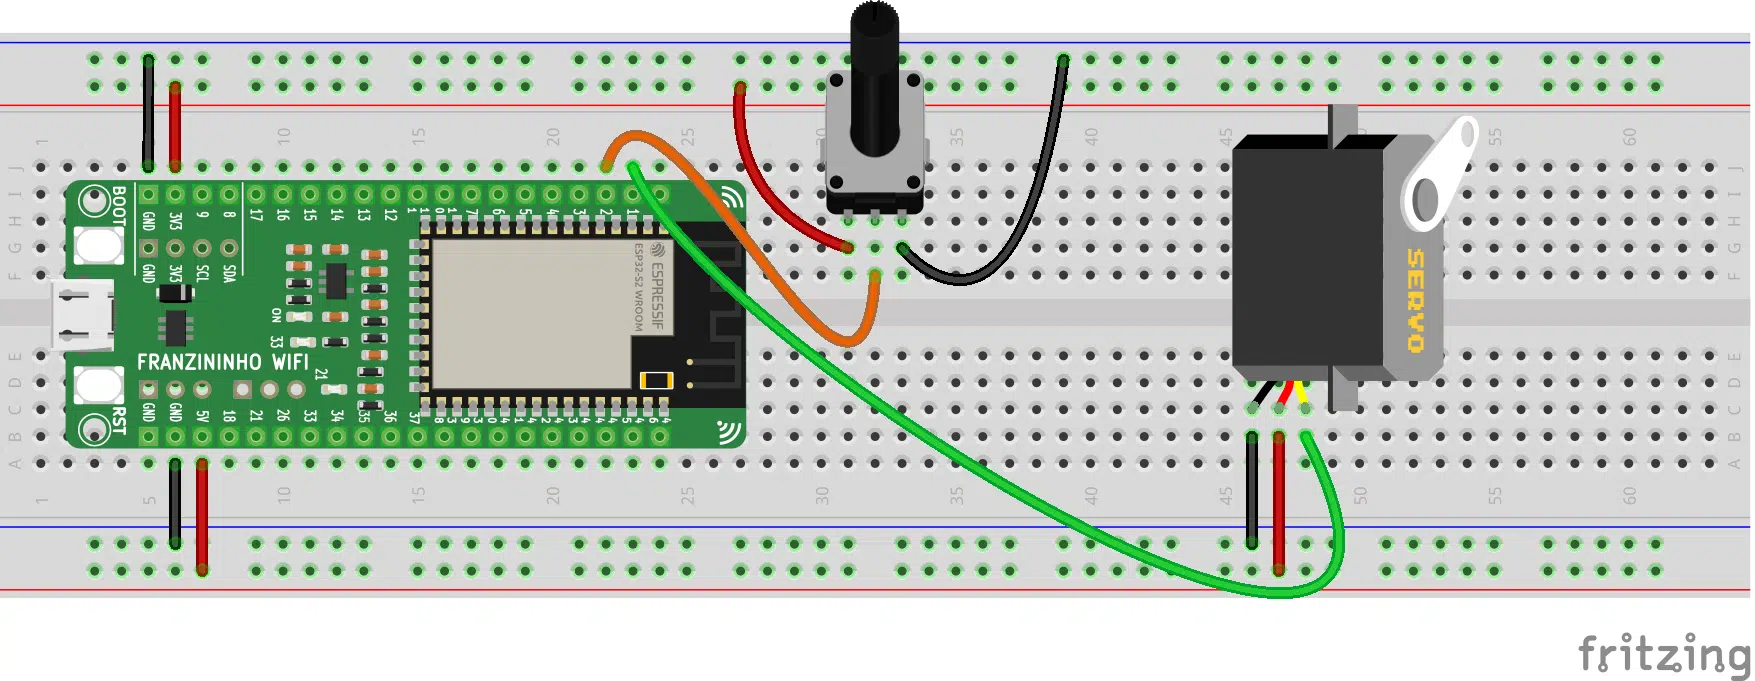
Note: the servo must be connected to the board's 5V. If you want to use more than two servos, an external power supply must be used.
Code
Just as when we learned to use PWM, we will import the simpleio module. We will also import a new module to work with the servo motor.
To access these modules, go to: https://circuitpython.org/libraries. Download according to the CircuitPython version installed on your Franzininho WiFi.
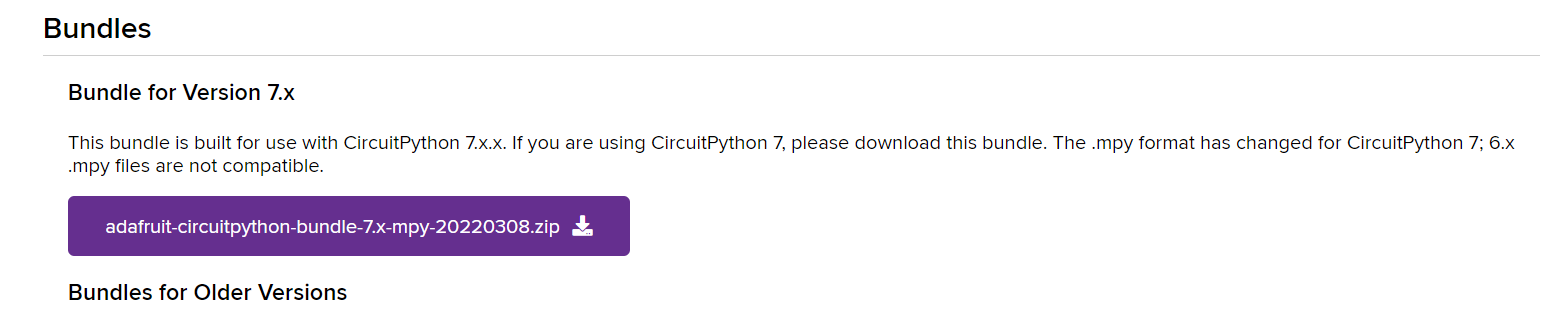
After finishing the download, import both modules to the Franzininho WiFi files folder:
- simpleio.mpy
- adafruit_motor
Example 1
In the first example, we will learn how to program a servo motor using CircuitPython. Copy the code below:
import board
import pwmio
from adafruit_motor import servo
from time import sleep

pin = board.IO1
pwm = pwmio.PWMOut(pin, frequency = 50)

my_servo = servo.Servo(pwm)

while True:
    for angle in range(0, 180, 10):
        my_servo.angle = angle
        sleep(0.1)
    for angle in range(180, 0, -10):
        my_servo.angle = angle
        sleep(0.1)
Save and run the code.
Example 2
In this example, we will control the servo position through a potentiometer. For this, we will use some features we learned earlier. Write the code below:
import board
import pwmio
from adafruit_motor import servo
import simpleio
import math
from analogio import AnalogIn
from time import sleep

pin = board.IO1
pwm = pwmio.PWMOut(pin, frequency = 50)
my_servo = servo.Servo(pwm)

potPin = board.IO2
pot = AnalogIn(potPin)

def converter(pin):
    pinValue = pin.value
    mapValue = math.trunc(simpleio.map_range
               (pinValue, 536, 51355, 0, 180))
    return mapValue

while True:
    angle = converter(pot)
    my_servo.angle = angle
    sleep(0.1)
After finishing writing, save the code and test it.
Code Analysis
Example 1
The first module we will import is board. It enables access to the board pins:
import board
To be able to use the PWM pins, we need the pwmio module:
import pwmio
We will also need the adafruit_motor.servo helper library. It will be useful for controlling the servo based on the PWM output:
from adafruit_motor import servo
And lastly, we will need the sleep function from the time module for timing intervals:
from time import sleep
Now, let's assign GPIO1 of the board to the variable pin:
pin = board.IO1
We will also configure this pin as a PWM output. Note that unlike the LED, we need to specify the frequency, since by default it is configured at 500Hz and the servo motor standard is 50Hz:
pwm = pwmio.PWMOut(pin, frequency = 50)
Additionally, let's create the my_servo object and assign the pwm pin to it:
my_servo = servo.Servo(pwm)
Finally, inside the while True, our loop, we will make the servo move continuously. For this, we will use the for loop structure and the range() command, which generates a list.
As parameters for the first loop, we specify the start value (0), end value (180), and the count step — i.e., 10 by 10. Inside the loop, this value will be sent to the servo every 0.1 seconds:
while True:
    for angle in range(0, 180, 10):
        my_servo.angle = angle
        sleep(0.1)
In the second loop, we do the same. However, instead of incrementing 10 by 10, the count will be decreasing:
for angle in range(180, 0, -10):
        my_servo.angle = angle
        sleep(0.1)
Example 2
In addition to the modules we already used in the first example, we will need to import simpleio to use the mapping function:
import simpleio
We will also need the math library:
import math
And the AnalogIn function from the analogio library:
from analogio import AnalogIn
Besides configuring the servo, we will also configure the potentiometer. First, let's assign GPIO2 to the potPin variable:
potPin = board.IO2
Finally, let's assign this pin to the pot object as an analog input:
pot = AnalogIn(potPin)
Now, let's create a function called converter. This function will receive as parameter the pin we are reading:
def converter(pin):
Inside the function, we read the value sent by the potentiometer and store it in the pinValue variable:
pinValue = pin.value
Additionally, we will convert the reading value to degrees. For this, we will use the simpleio.map_range function. The parameters of this function are: raw value (reading value at that moment), minimum input value, maximum input value, minimum output value, and maximum output value. We will also need the math.trunc function to eliminate decimal places. All this information will be stored in the mapValue variable:
mapValue = math.trunc(simpleio.map_range(pinValue, 536, 51355, 0, 180))
And the function returns the mapValue:
return mapValue
In the infinite loop, while True, we assign the value returned by the converter function to the angle variable. This value will be sent to the servo motor every 0.1 seconds:
while True:
    angle = converter(pot)
    my_servo.angle = angle
    sleep(0.1)
Conclusion
Throughout the explanation, we learned how to use a servo motor in a simple way using CircuitPython. We also saw how to use a potentiometer to control the movement of our servos.
| Author | Mateus Adriano Ventura Vieira |
|---|---|
| Date: | 17/05/2022 |